Learn soil blocking for beginners to grow strong, resilient plants in easy to follow steps!
Original post 2/9/22 ~ updated 1/28/23
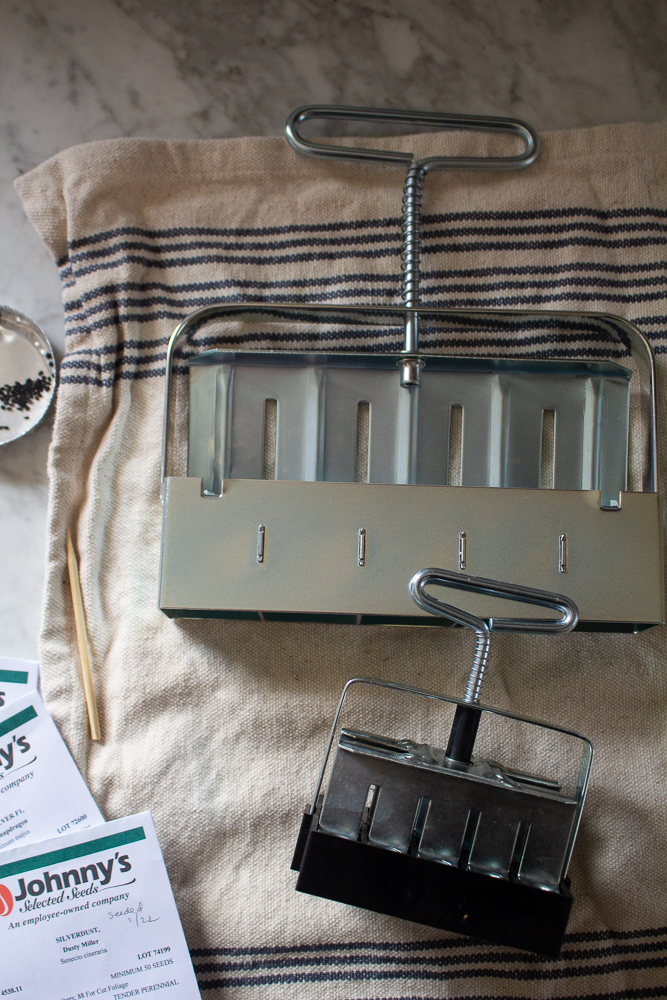
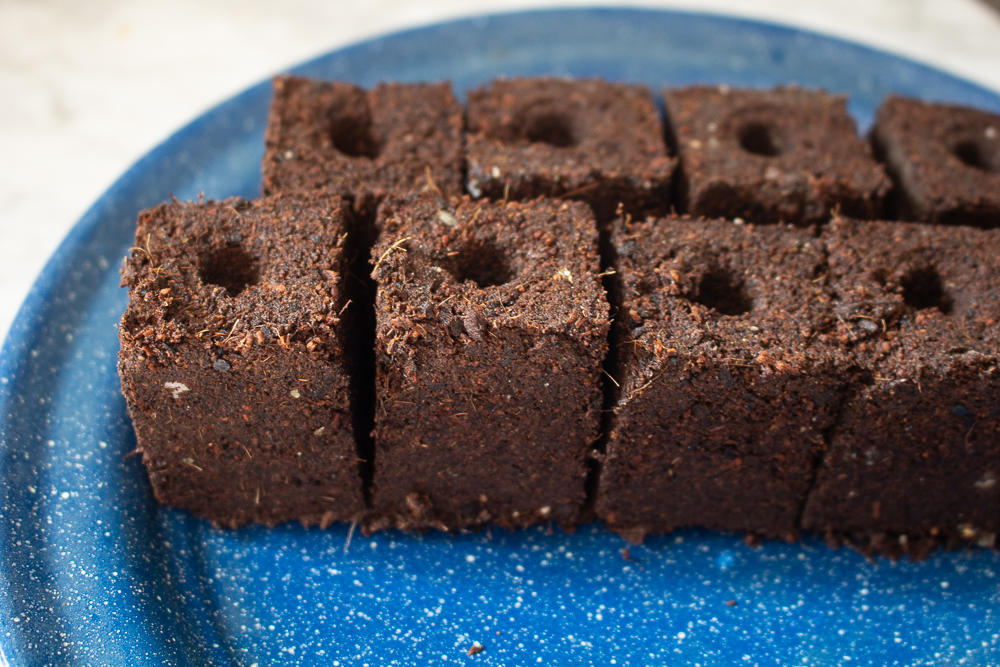
I recently decided to opt out of the plastic cells for growing plants, and decided to invest in some soil blocking equipment. I’m so happy with the results and I’m excited to share with you what I know. Here’s everything you need to know about soil blocking for beginners.
Why Soil Block
1. It saves on plastic. Many of the plastic cells that I’ve purchased in the past were short lived and flimsy adn also deform after you poke the seedlings out of the bottom. I hate to throw out plastic since I know it arrives in landfills, and this is one little thing I can do that can benefit the environment.
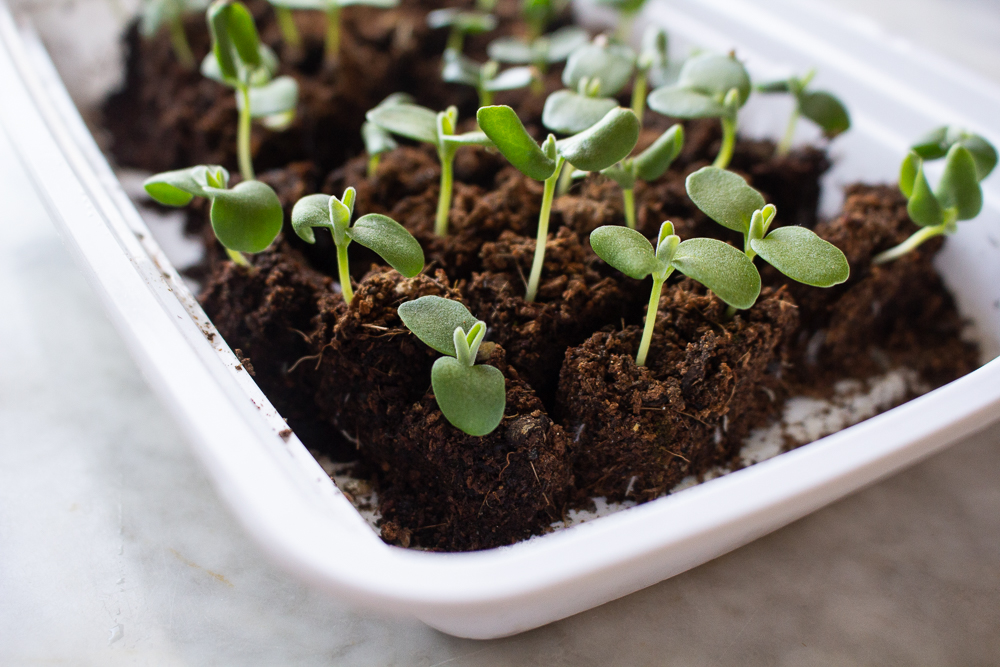
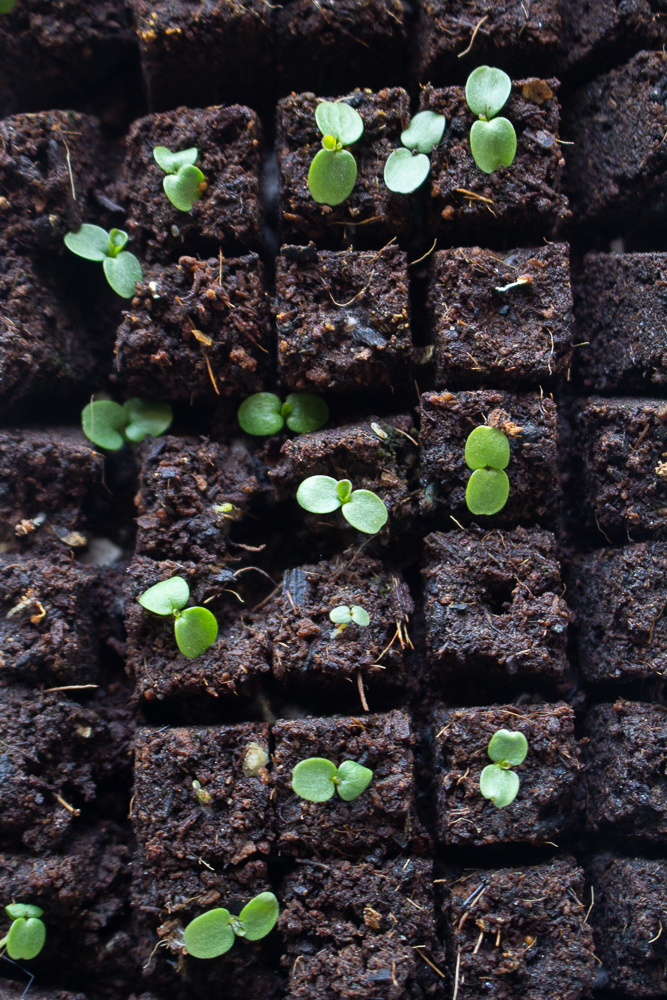
2. Seedlings don’t get root bound: Seedlings are less prone to become root bound, which can happen often in plastic cell trays. When roots grow out of a soil block, the air keeps them from growing further and so they don’t become root bound. This makes them healthier and easier to transplant without any root damage.
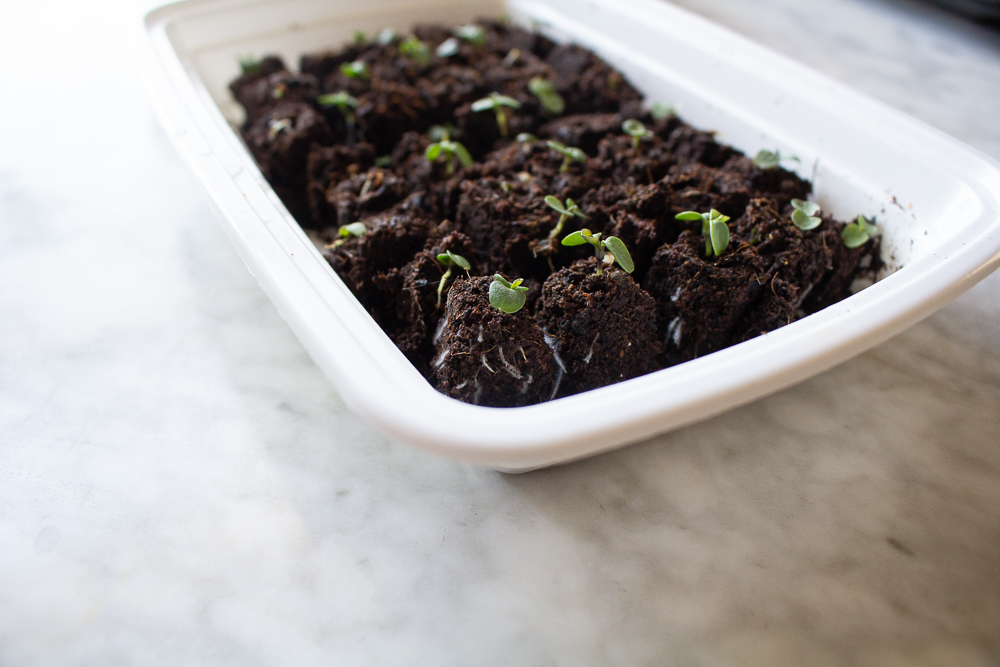
3. You save on space: In one little tray I’m able to fit 40 plants! We don’t have a lot of space to grow seedlings so this step was the most logical for me and encouraged me to try soil blocking.
4. It’s actually cheaper long term: for the price of a few soil blocks, I’m able to save on plastic cells for years to come. I’ll be using these for the foreseeable future, and although a bit of an investment up front, I end up saving a lot of money in the long run.
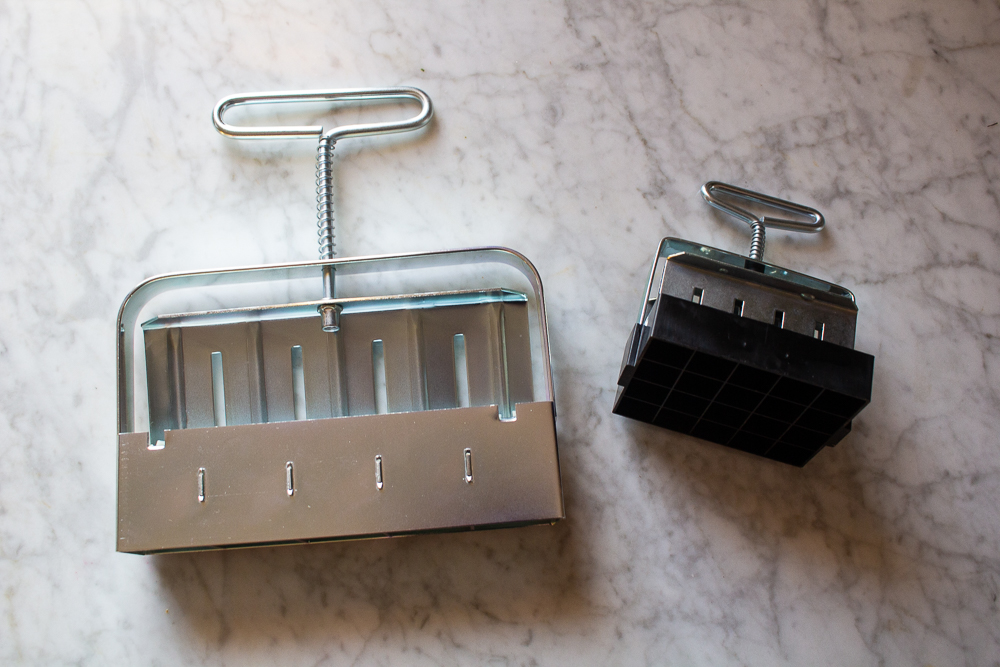
Types of Oil Blocks
There re 3/4 inch, 1.5 inch, and 2 inch soil blocks. I plant 95% of my seeds in the 3/4 inch soil blocks. The larger sizes are for larger seeds such as sweet peas and sunflowers. The idea behind the 3/4 soil block is that it saves space initially, and then once plants grow to 3-4 inches, you can transfer them outside. Additionally, the 3/4 soil blocks can be transplanted into the 2 inch soil blocks if it’s too cold to put the plants outside. You’ll just need the square dibbles to do that.
Although I bought all 3 soil blocks, I realize my go to’s are the 3/4 inch and the 2 inch with square dibbles. But some farmers swear on using only 1.5 inch blockers for everything since they have a lot of space to grow seedlings. We’re not there yet.
Here are some useful links, the first 3 are from Johnny’s and the last one from Gardener’s Workshop:
2 inch blocker (4 squares) with square dibbles
Blocker Set on Gardeners Workshop
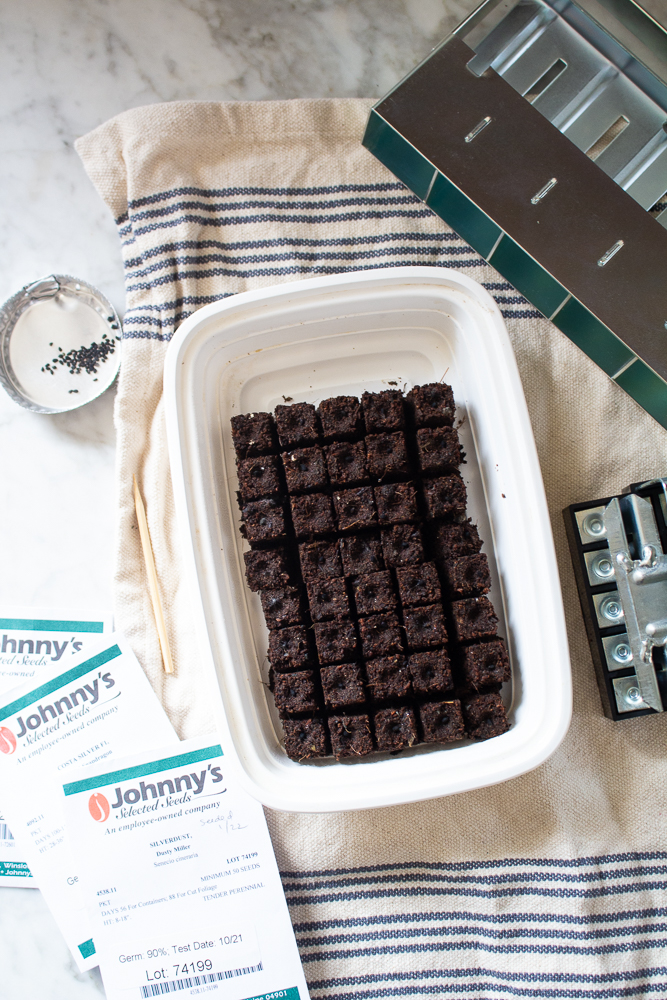
Soil Mixture
The one thing to remember about soil blocking is that it’s very different from seedling mix. Soil for soil blocking is a particular blend of compost, coconut coir (preferably over peat moss) and amendments, and it’s quite wet so that it holds together without being bound in plastic cells. And while it does take a little bit of thought ahead of time to make this mix, it’s very much worth it. You’ll be rewarded with healthier plants in less space. While there are a lot of soil recipes out there, here are the two that I was the most impressed with (and definitely go with the coconut coir over the peat moss, which is not sustainable):
One recipe is by Blossom and Branch Farm. She has a blog post plus two YouTube tutorials (Part 1 and Part 2). This recipe does require you to locate green sand and other amendments, but if you’re planning to make a lot, it’s nice to stock up. She uses cinnamon in her recipe to combat fungus, which I liked.
Another recipe is by Gardeners Workshop, and I chose this for my own soil blocks. The main reason was that I didn’t have to purchase greensand separately, and the recipe was a bit simpler. I also added cinnamon to this recipe, per Blossom and Branch Farm’s advice. The recipe I followed was on the Nutrient Mix Product bag that I purchased, and then simply added my own coconut coir and compost and cinnamon.
Soil Sifter
If you’ll be making your own soil mix, you’ll need a sifter. I didn’t think I needed one since the coconut coir is so fine, but I was actually left with bulky pieces behind. I was amazed at how expensive some of these sifters are (both online and at big box stores). A few I found are:
Soil Sifter On Amazon
I decided just to go ahead and purchase 1/4 inch chicken wire (or hardware cloth) for $5, and laid this on top of my bucket. It worked perfectly for a fraction of the cost.
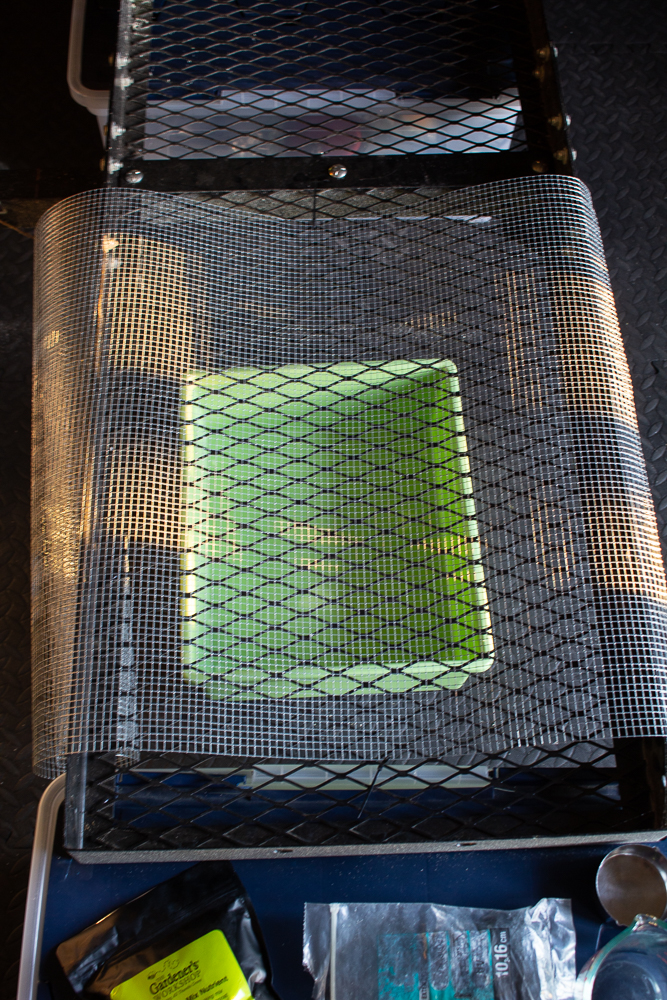
Place your mesh screen on top of a bucket. 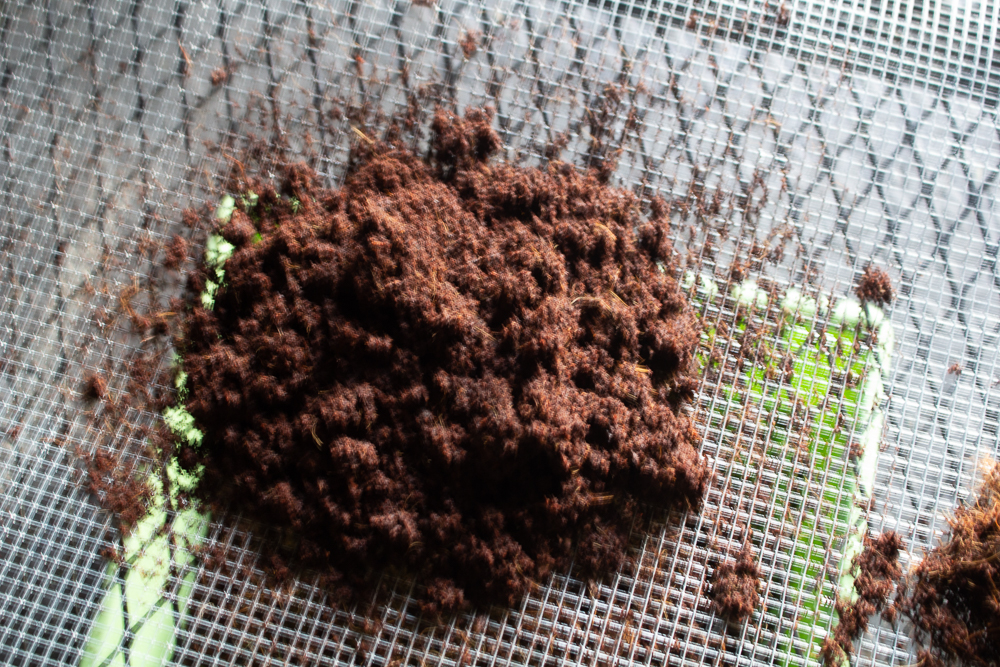
Sift your compost and coconut coir. 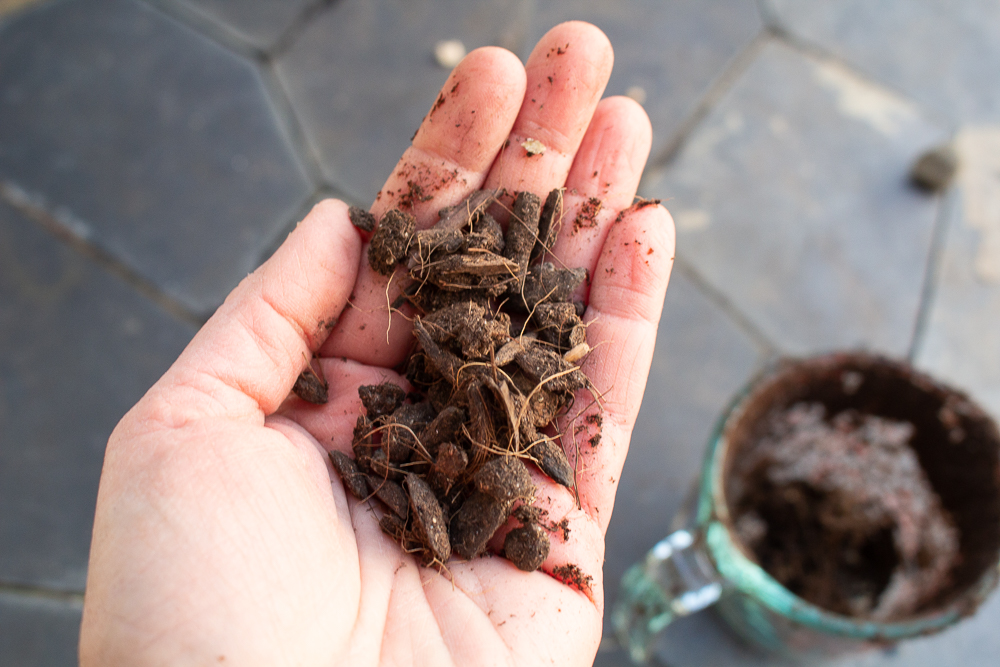
Take out the leftover larger pieces. 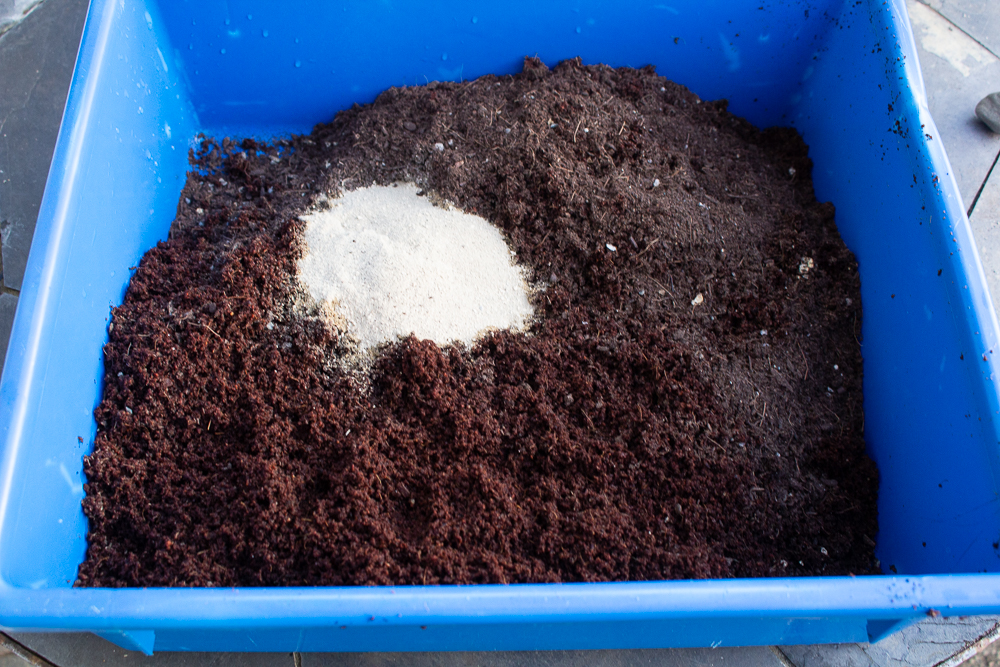
Mix your soil components together. Here we have compost, coconut coir, amendment and will add cinnamon on top as an anti-fungal.
Additional Supplies for Soil Blocking For Beginners
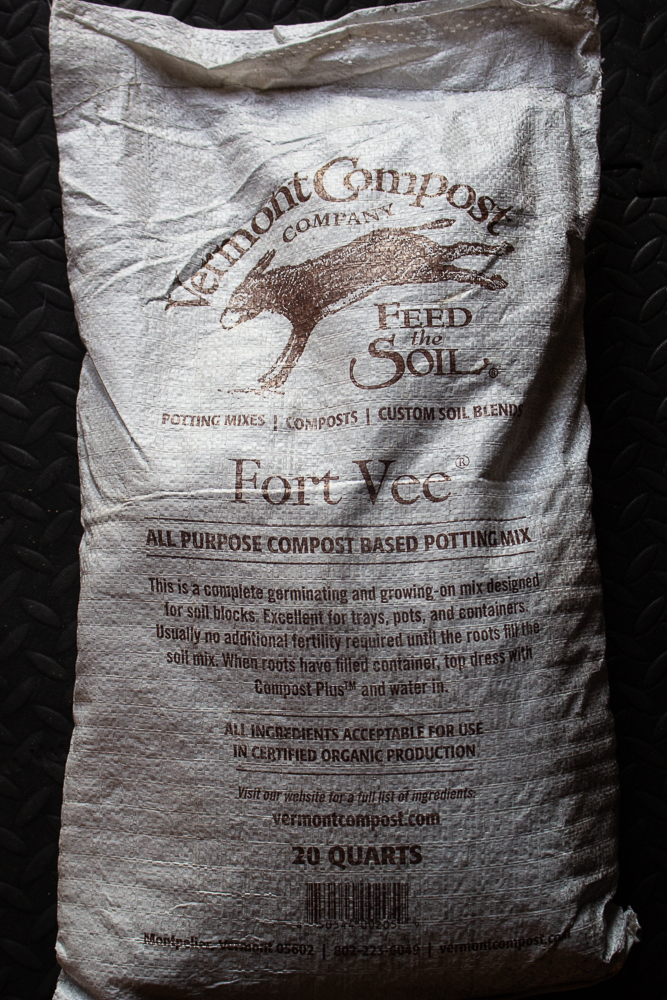
Compost: This Fort Vee Vermont Company Compost came highly recommended by a few soil blocking friends. This also has to be sifted before used.
Coconut coir: I found mine on Amazon: coconut coir blocks. They just have to be reconstituted with warm water before use and then sifted.
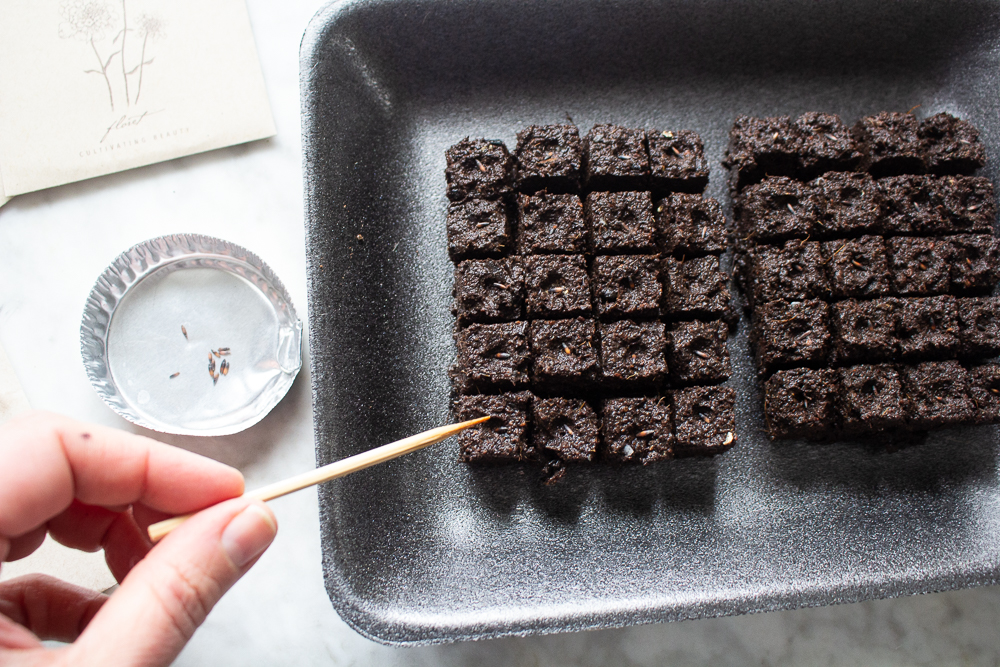
Seeding pan: You may think you don’t need it but I highly recommend getting a static-free seeding pan like this one. It makes seed starting super easy and I didn’t realize how helpful it was until I started to use it. See photo below.
Buckets: You’ll need some kind of bucket to hydrate your coconut coir blocks (one from Lowes works great) and another bucket that’s more shallow (think 5 inches high or so) to create your soil block mixture.
Toothpick: The way you select super small seeds to sow is by wetting a toothpick and dipping it into the seeding pan, one by one, and placing them in the soil blocks. I tried it just using my fingers and trust me, the toothpick is so much easier. I cut skewer also works great.
Trays and Humidity Domes
You’ll need trays for your seed blocks, and while these seem the easiest part of this whole adventure, trust me they’re the hardest. You really need flat styrofoam trays, like the kinds you find under raw meat. You can get them from a restaurant depot (in large quantities) or simply ask friends, or get them from a local deli if they’re kind enough to share. If you don’t want to search for them, Gardeners Workshop also has trays.
A few tips:
- A flat styrofoam tray is always better than a meal prep/take out tray for watering reasons. Why, you ask? Since take out containers have grooves at the bottom of the tray, they hold water and makes watering a little tricky. I’ve used both and the take out trays work in a pinch, but styrofoam ones are better. If you absolutely have to buy the plastic ones (definitely ask your friend for some or reuse them first), you can buy them here.
- Do not plant more than one single variety on a tray, even different varieties of the same genus. Every single seed has a different gemination rate. So if you grow two types of feverfew on one tray, you’ll see that one will germinate before the other and will need to be under lights. But the other one isn’t ready yet. Then you’ll need a spatula to move them, and that’s no fun. Don’t be seduced by large trays. Get small ones and put only one variety on them.
Plastic Wrap or Dome: For any container (styrofoam or take out trays), you can use the lids to create a humidity dome. The lids can just sit on top, no need to snap them on. The humidity dome process is used only when the seeds are germinating on the seedling mats. Condensation will build up, and I lift the lid daily to drip the condensation over the soil blocks. If you’re using styrofoam trays, you will have to use plastic wrap to cover the soil blocks to create the greenhouse effect and help with humidity. I’ve used more of the take out container tops for the styrofoam trays and although they don’t fit perfectly, they still worked well.
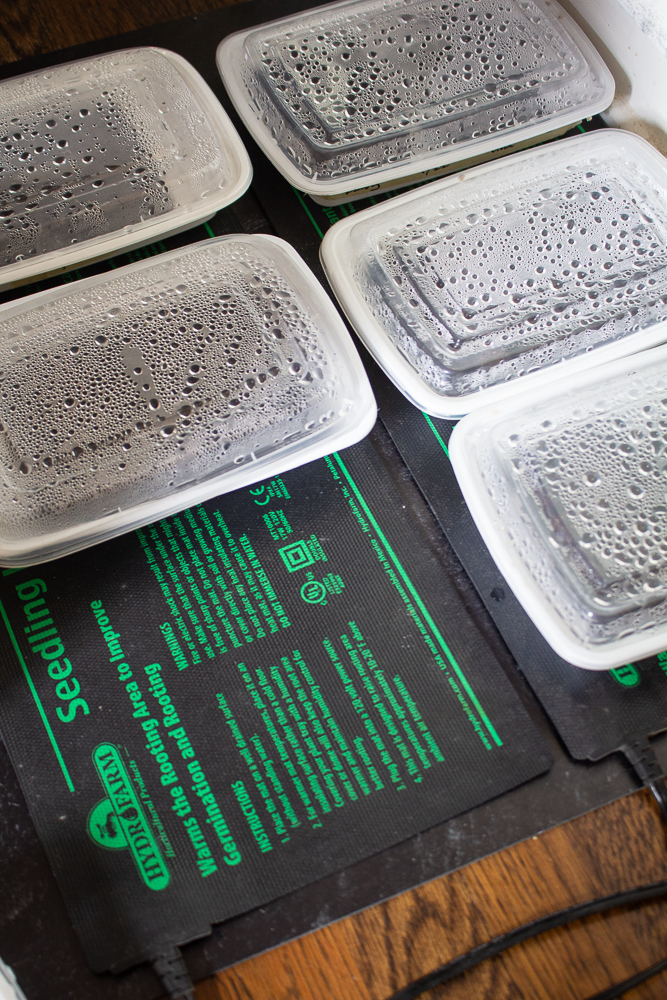
Seedling Heat Mat: You’ll need these to germinate your seeds. I use something like this.
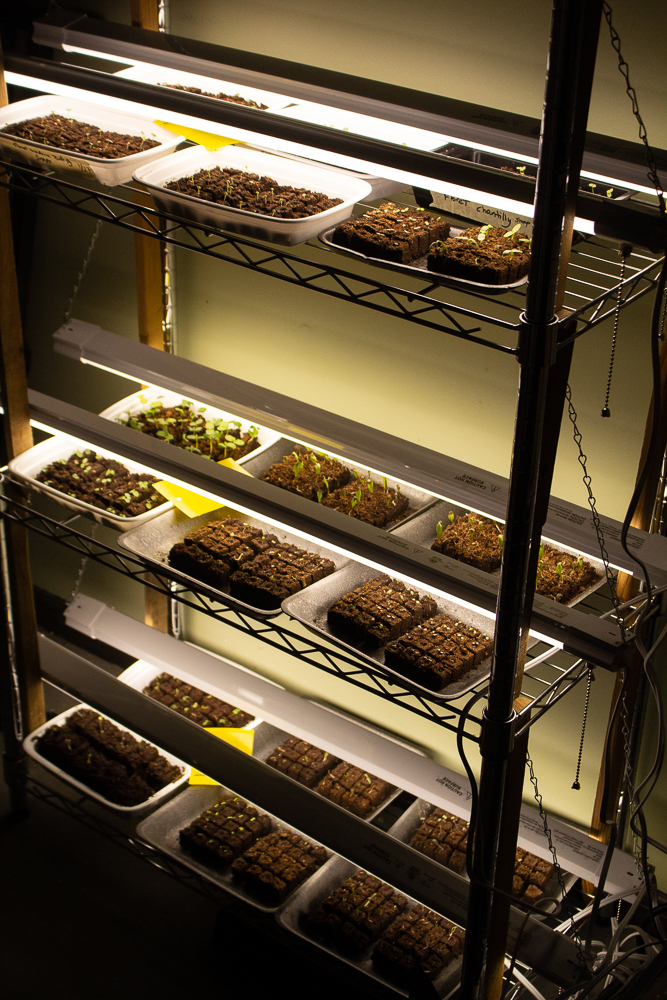
Lights: Once the seeds have germinated, you will need to move them under lights. I used simple shop lights like these.
Combo Kits to help with Soil Blocking For Beginners
To make things easier, you can also buy combo kits that have a lot of supplies included.
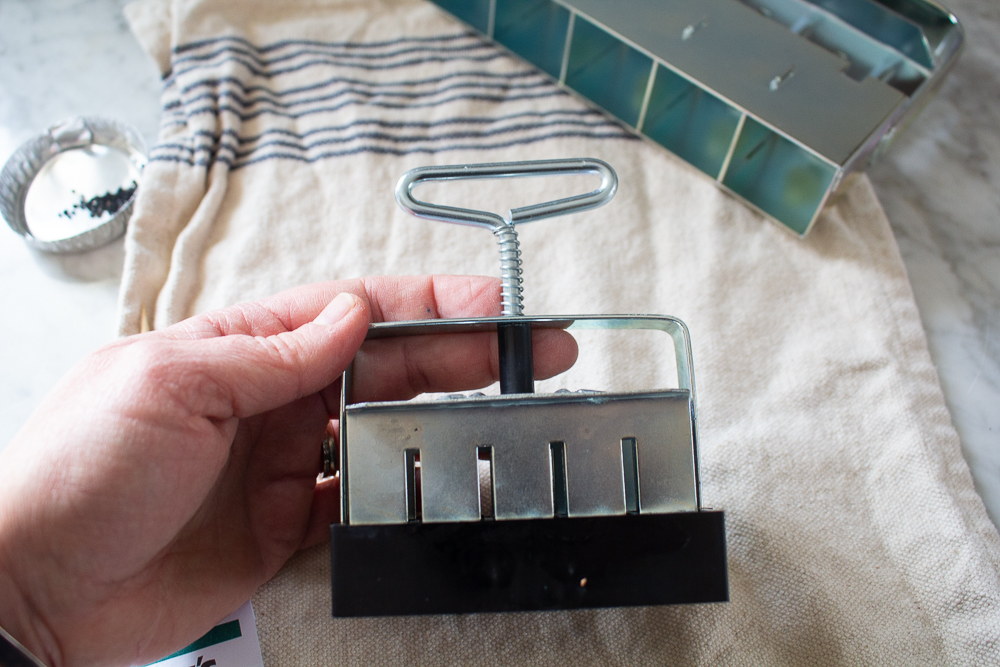
Side of small soil blocker 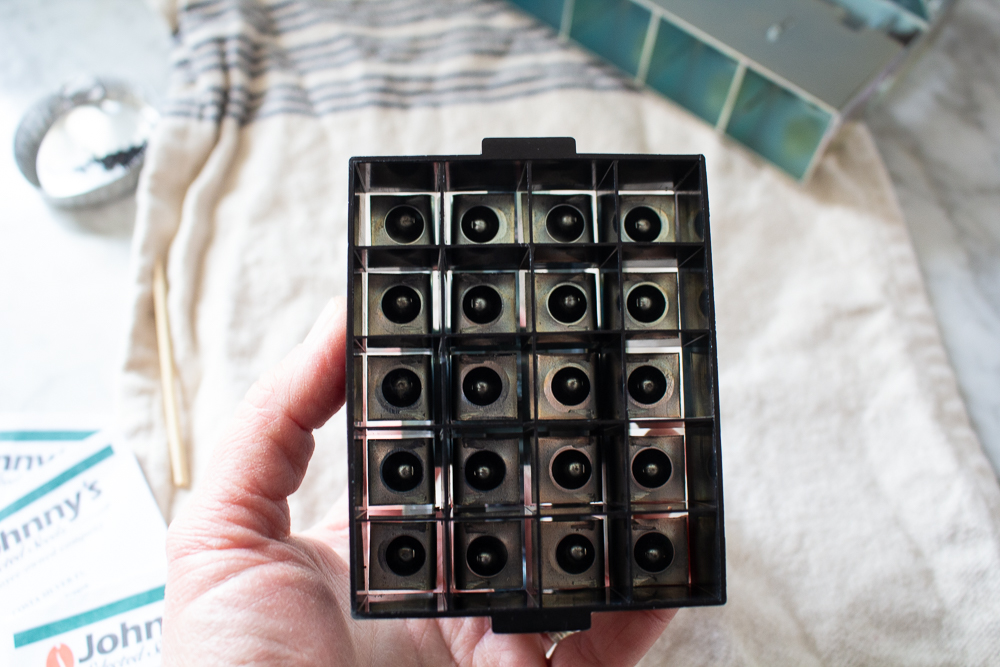
Underside.
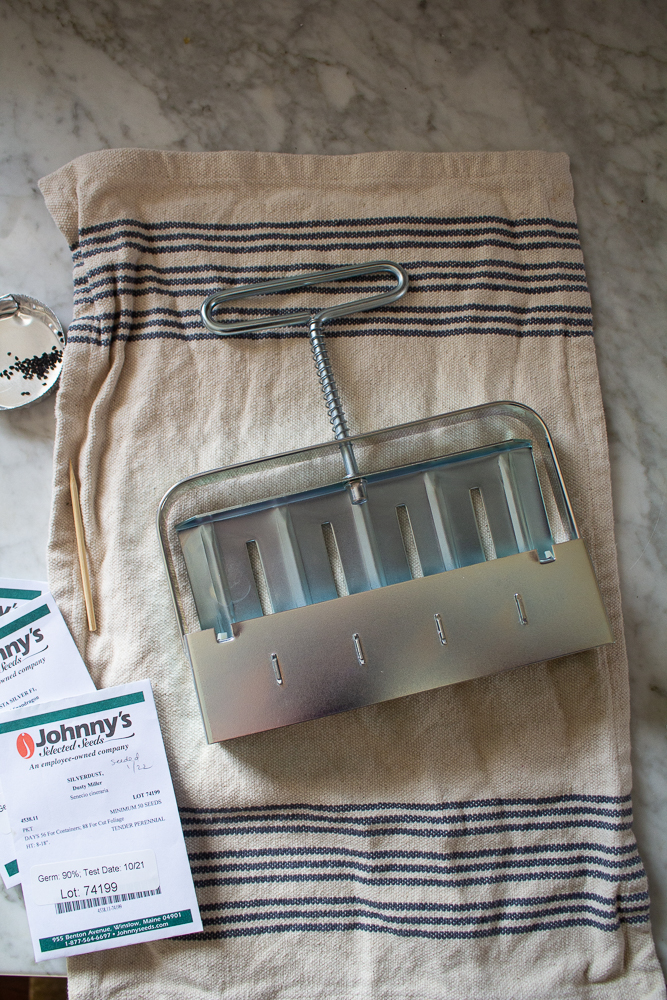
Side of large soil blocker. 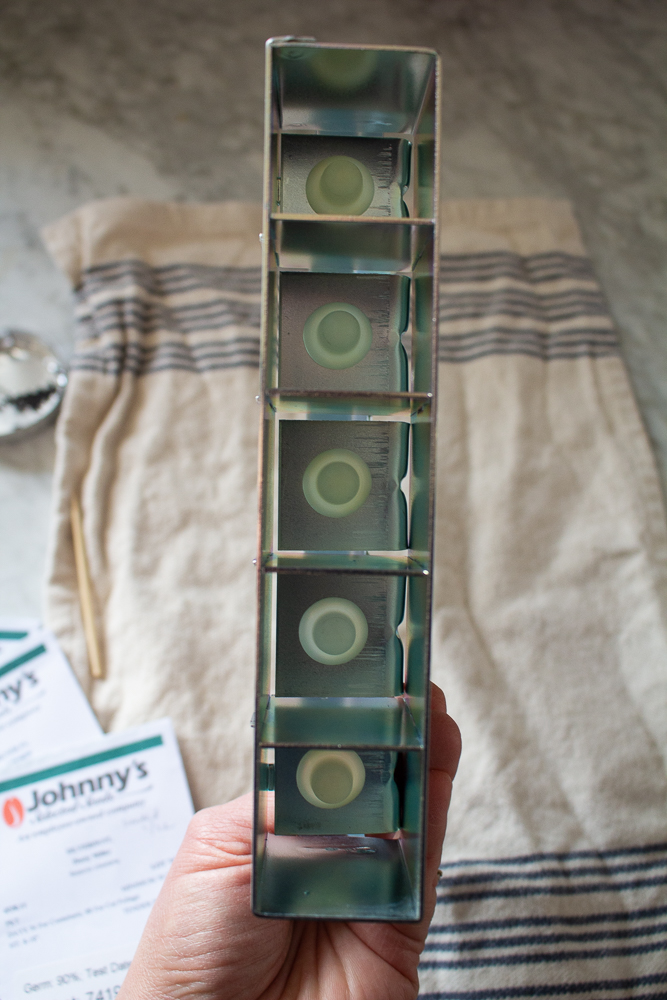
Underside.
How to Make Soil Blocks
There are two ways to make soil blocks.
Pressing the soil blocker into the soil: The common way to make soil blocks is to create the soil recipe you’re following, add water to reach the consistency of slightly wet mud, and squeeze it in your hands to see if it holds together. A little water may seep out, which is fine. Then you simply make a mound of the soil mixture in your low bucket and place the soil blocker on top. Push it down against the soil and twist it as it touches the bottom of the bucket. Lift the soil blocker and you should have dirt in every soil block. If not, simply add more with your hand. I press it in a bit so that the soil compacts and makes it easier to hold once formed. Then squeeze out the soil blocks on your trays. A good video to watch is this one.
Filling the soil blocker with your hand: (pictured below, although the soil should have less water in it than pictured) An alternative way of doing this is simply filling the soil blocker with your hand. I find this is easier on why wrists. Simply add soil to your soil blocker and use the palm of your hand to squeeze some of the water out. You want it a little bit compact but not too much that the roots can’t grow through it. Push just enough to get some of the water out. Then squeeze out the soil blocks on your trays. I’ve pictured the steps below.
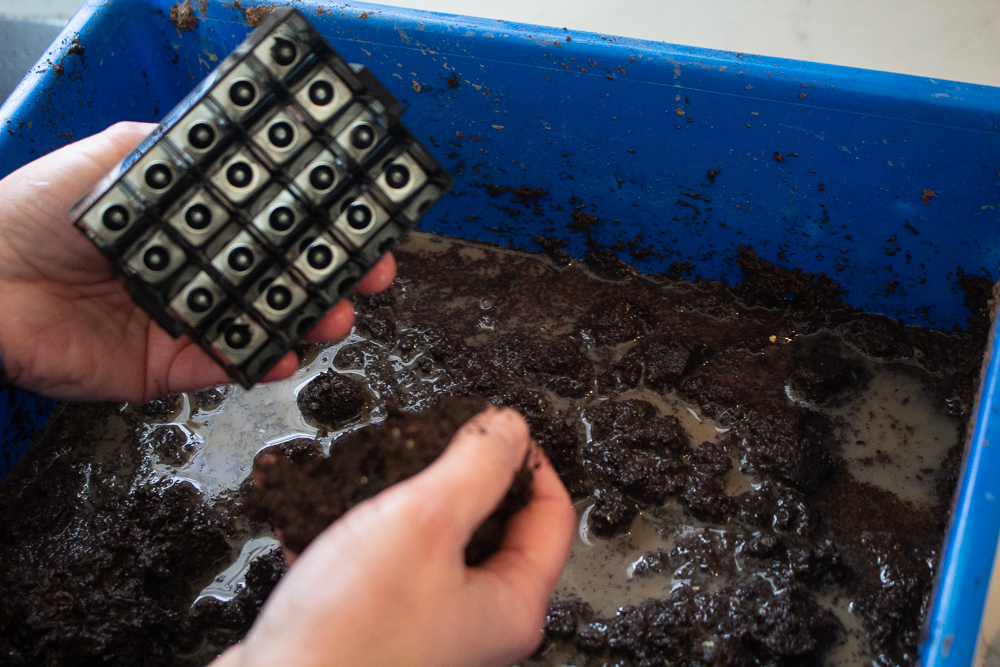
Create your soil mixture. 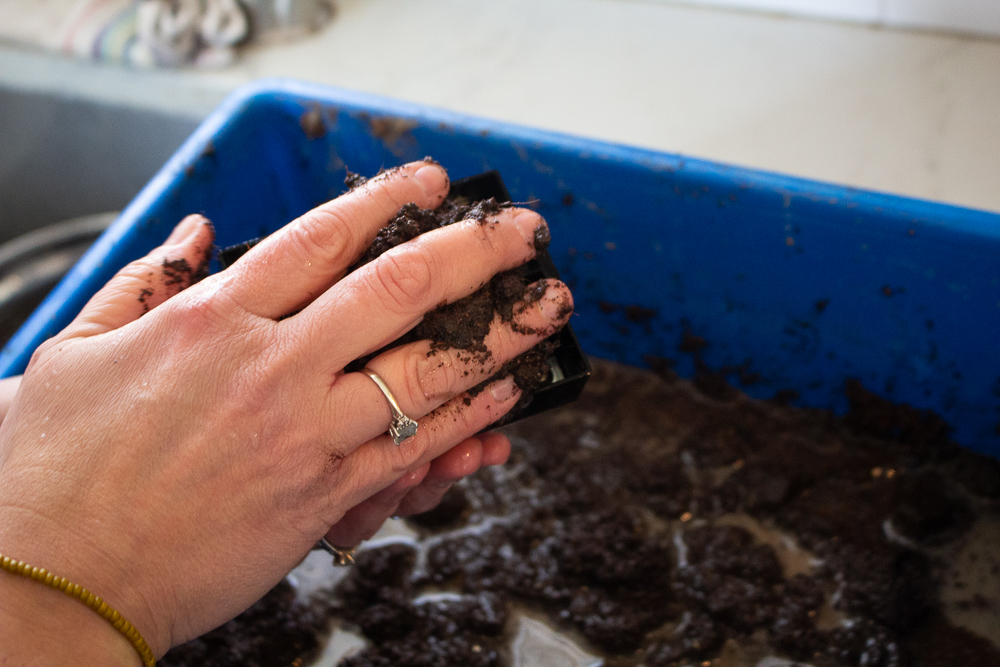
Use your hands to fill the squares. 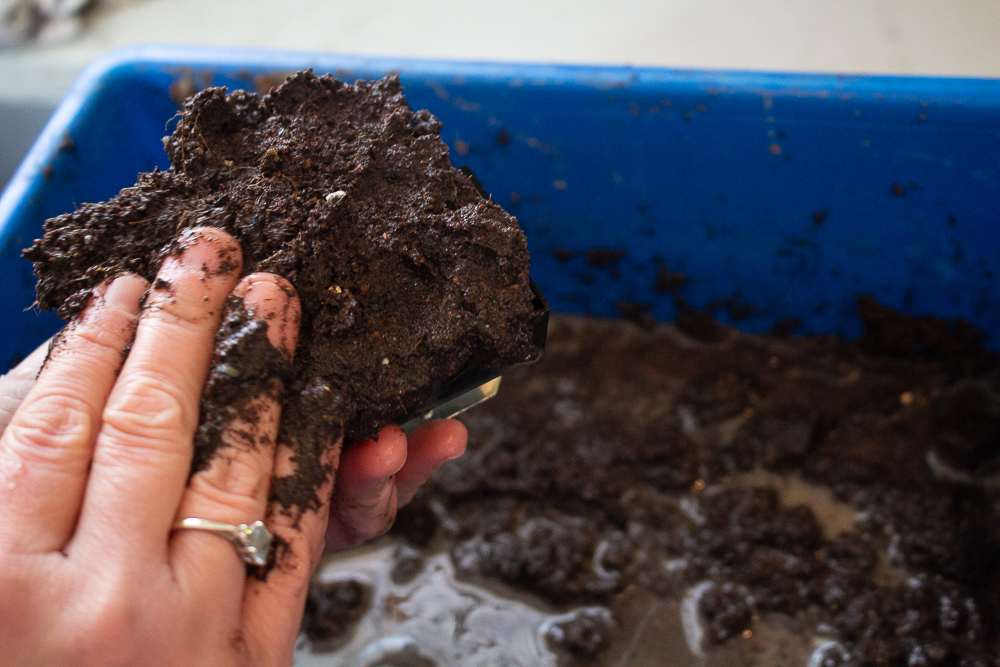
Make sure each one is full of soil. 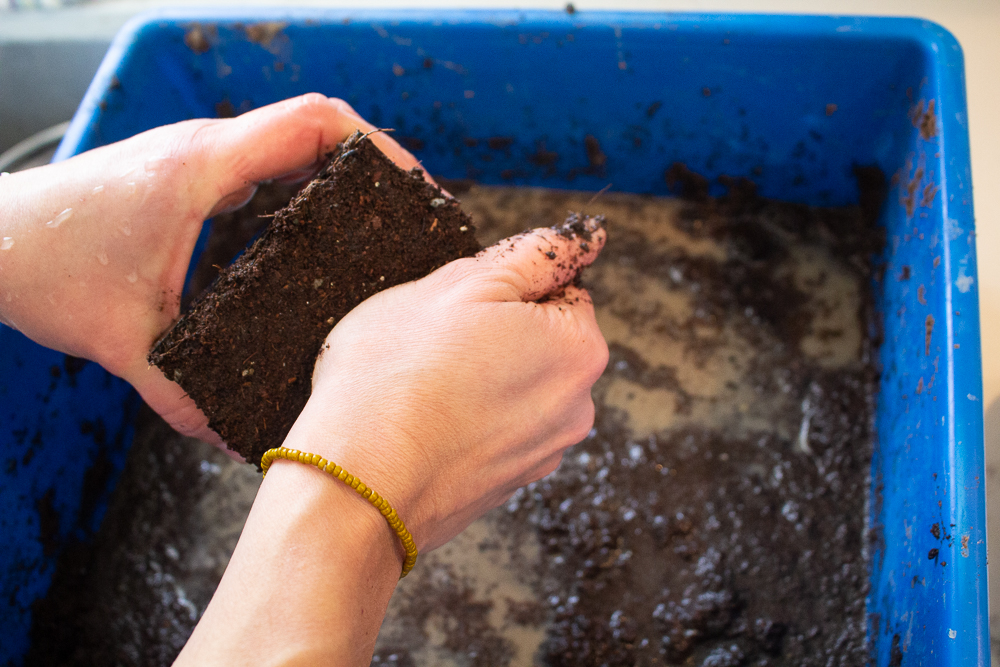
Flatten the mixture with your palm to release excess water. 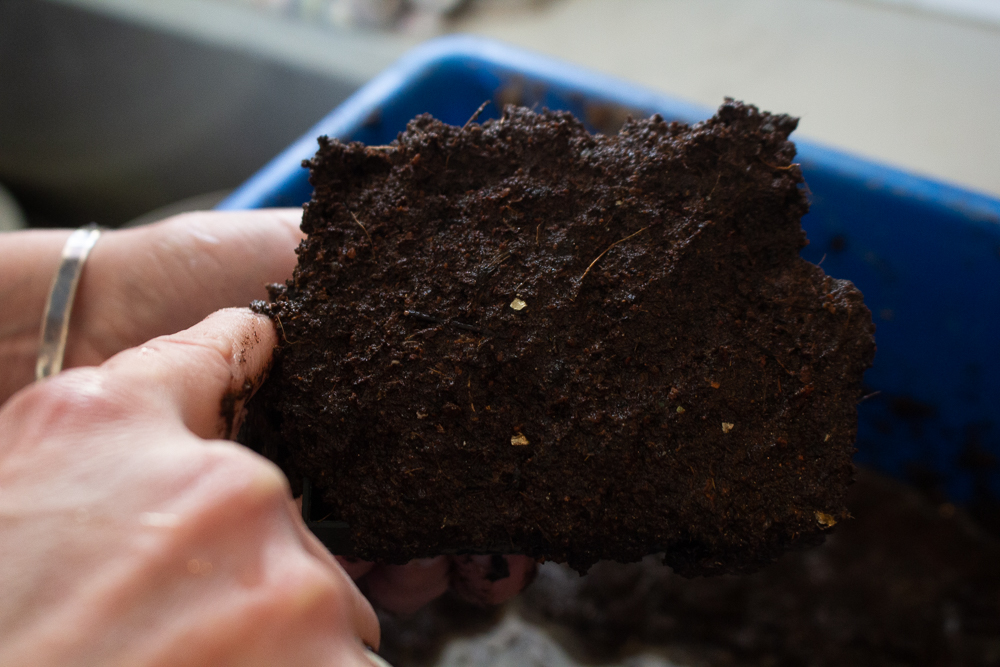
Scrape the sides with your finger to release extra soil. 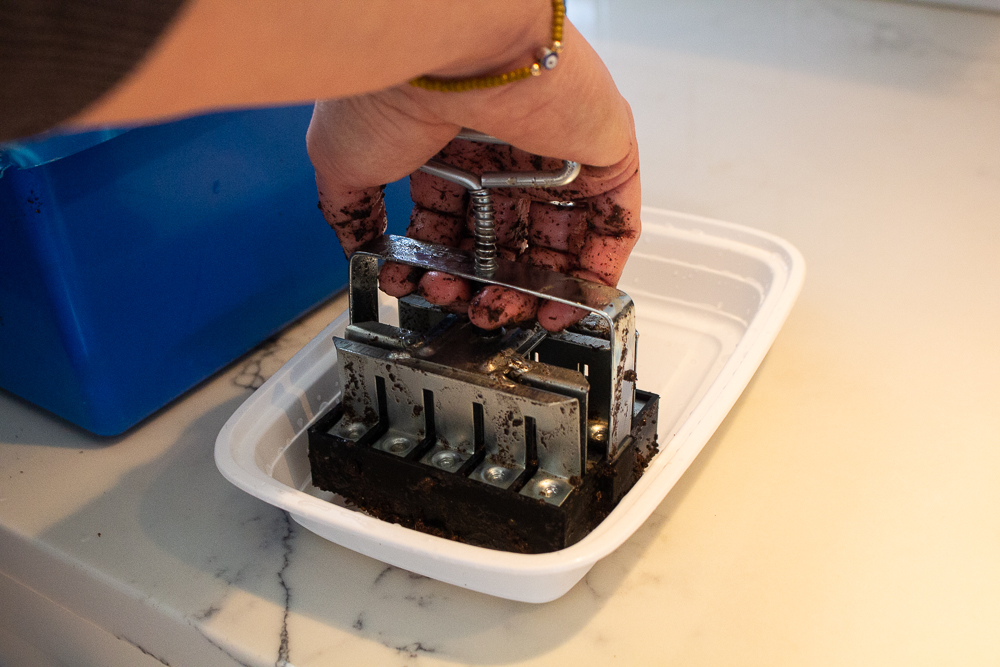
Place the soil blocker on your tray. 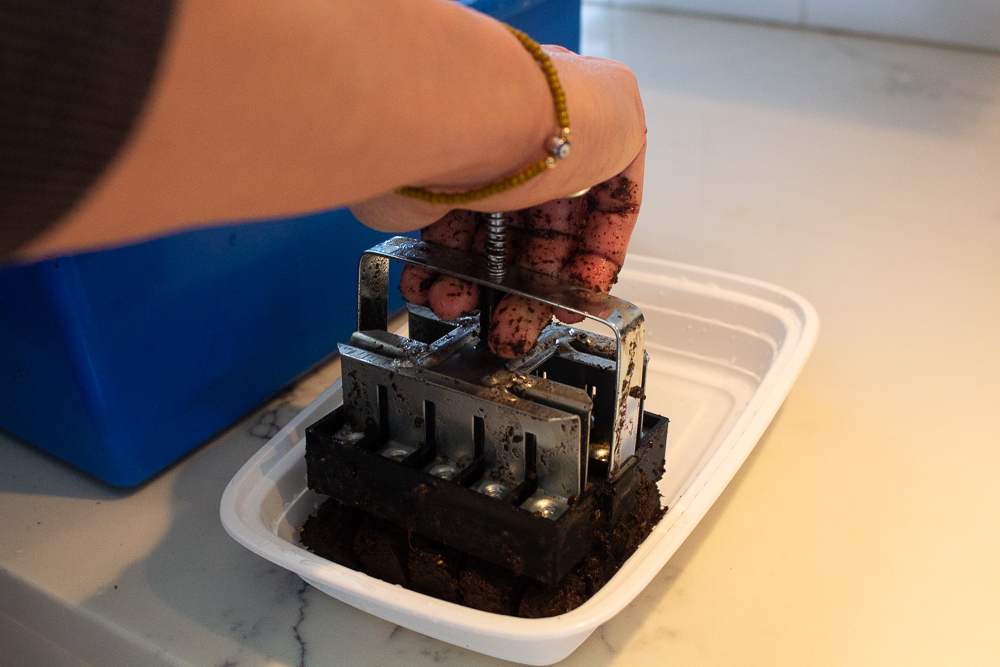
Squeeze to release. 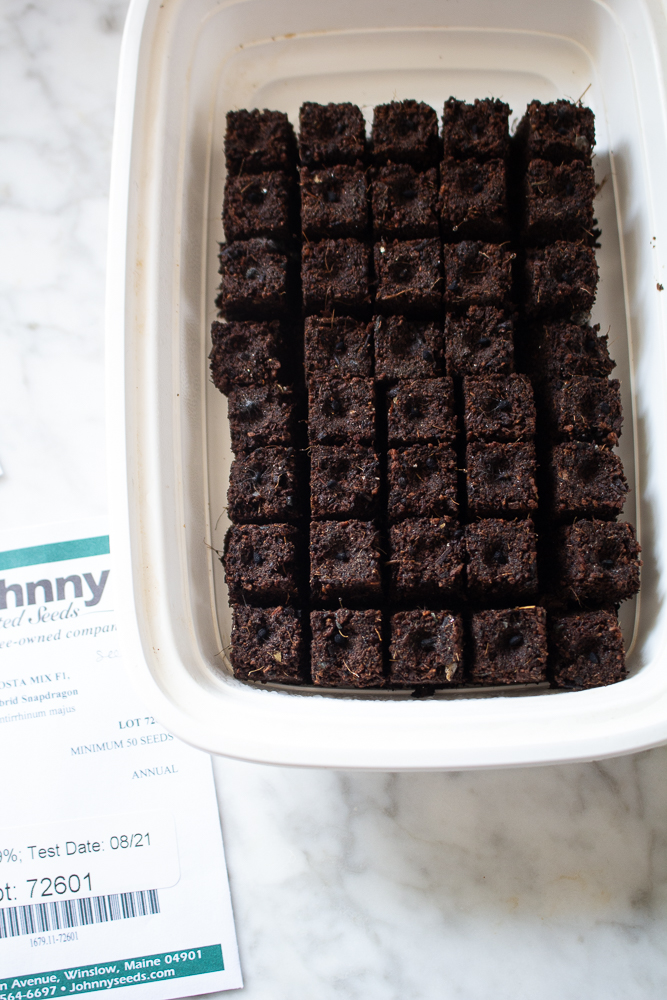
You’re done! 
Process of Growing Seedlings, Soil Blocking For Beginners
- First, pick your seeds.
- Next, learn which size soil block they’ll need. For the most part, small seeds can use the 3/4 inch soil block. Larger seeds like sunflowers and sweet peas benefit from the 2 inch soil blocker. Some of the medium seeds can be used in the 1.5 inch soil blocker. In retrospect, I realize that I really only needed the 3/4 inch and the large 2 inch.
- Make your soil blocks as detailed above. Then use the wet toothpick to pick up your seeds and place it in the center of the soil blocks, one by one.
- Figure out if your seed needs light to germinate (don’t cover with soil) or darkness (cover with a little soil). The seed packet should tell you what it requires and often gives you the planting depth, or just check with google.
- Cover the soil blocks with your take out tray cover or plastic wrap to help them germinate.
- Label your tray. Do not skip this step! I do this using a sharpie on masking tape on the outside of my container.
- Place the tray over a seedling mat. Check on them daily to see when they sprout. I use the condensation water that gathers on the cover to water them a bit.
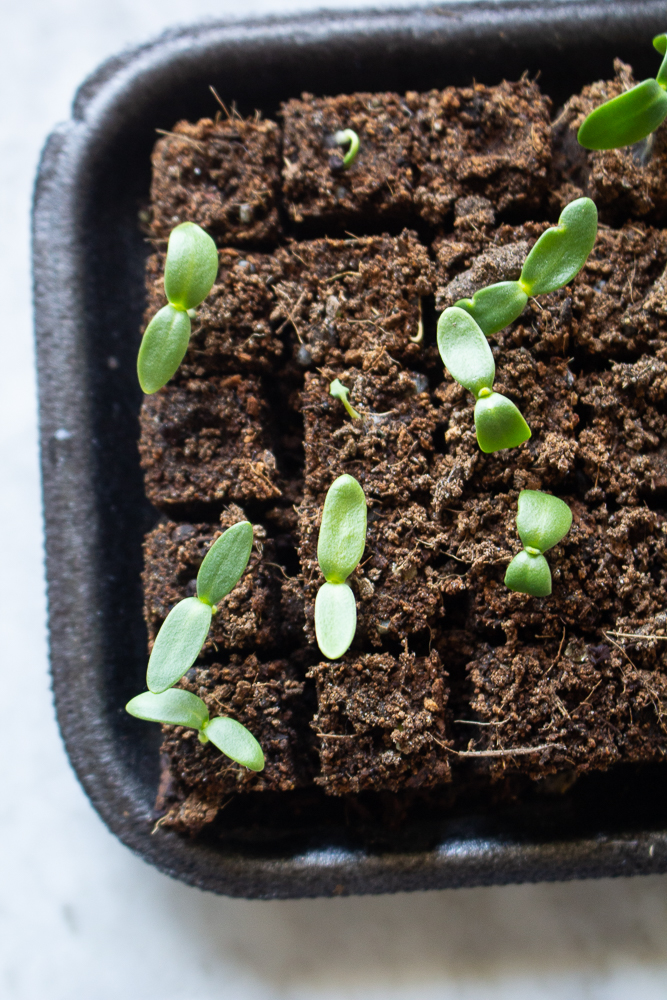
- Once seeds have germinated, take them from the seedling mat and put them under shop lights. I typically put my shop lights about 2-3 inches away from the seedlings and adjust as they grow.
How To Water Soil Blocks
Soil blocks are a bit on the fragile side and do not like overhead water. Simply use a measuring cup with a pointed end (or a plastic condiment squeeze bottle) and slowly drip some water on the side of the tray, about a tablespoon at a time. Tilt the tray so the water moves under the soil blocks. You’ll see that they absorb the water quite well when they are thirsty. Don’t over water. This leads to dampening off and the roots don’t breathe very well if too wet. I typically water only in the mornings and let them dry out between waterings.
Fertilizing Your Seedlings
I fertilize on Fridays (or pick your day of the week) and use Neptune’s Fish Emulsion.
Gnat Prevention
Gnats come from the soil we use and are a nuisance. Once they lay their larva and grow, they can do serious damage to your seedlings. I use Gnatrol every Saturday as well as the gnat traps. Even though you think you may not have them, it’s best to act preventatively. It’s an ugly task to kill anything but we have to do it.
Want More Gardening Posts?
Connect With Us!
If you try soil blocking, do tag us on social media @LittleBitesOfJoy ~ we’d love to see your progress! Happy planting!

I find that when I cover my seeds that leads to dampening off, do you ever have this issue during germination?
I didn’t see it this past year except for some dahlia seedlings, but very minimal – seeds need either light or dark to germinate, so adding soil to those that need it is necessary. I find that dampening off happens more because of environment, such as too much moisture, not enough air flow, sowing too close together. This past year we grew seedlings in our basement where it was cooler, and the years before when I grew them upstairs I had so much dampening off. Downstairs, hardly any. For us, it was primarily the temperature that maybe helped to grow more fungus upstairs. I was also not as meticulous about cleaning and reusing cells. Hope that helps!
I have been curious about soil blockers and starting seeds. This info is so helpful, I will be referring back to it for sure!
So happy to hear that, hope it’s helpful! Thank you 🙂
Those lil seedlings are super cute! Thank you for this helpful tutorial. Definitely going to be trying this!
Aww, thank you 🙂 They are cute, aren’t they? Amazing they come from itty bitty seeds! Hope you do try it, and reach out if you have any questions!
I’m going to try this method for seeds starting! I like the idea of reducing the amount of plastic we use. Thank you so much for sharing!
So glad, I hope you do!
So much information! Thank you. The step-by-step pictures are so helpful.
I’m so glad to hear that, thank you! 🙂
What an amazing resource! I actually purchased soil blockers for myself a couple of years ago and have yet to use them. This may be the push I need to get serious about a garden this year! Thank you!
I’m so glad to hear that, I hope you do try it! It’s been a rewarding experience and now I’m hooked! 🙂