I’m sharing my top gardening tips for beginners, and how to maximize your garden with bountiful harvests!
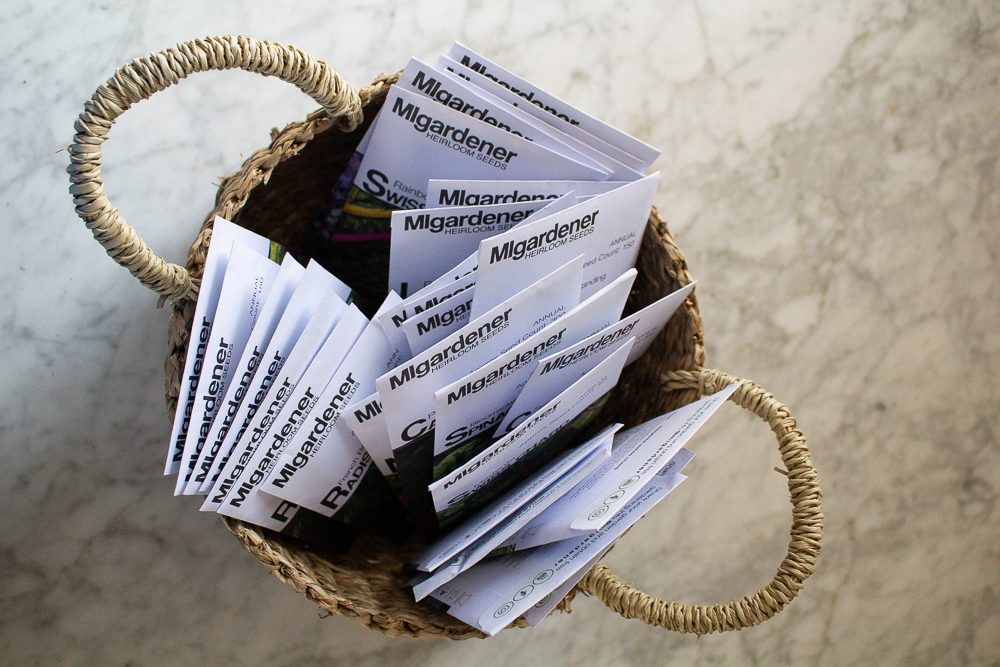
I often feel that everything is actually doable, it just takes some planing. I’m not sure where you stand, if you are an avid gardener, or haven’t started yet at all. But my hope is that through my top gardening tips, you can enjoy the process, take it one step at a time and start growing your own food, however small a harvest.
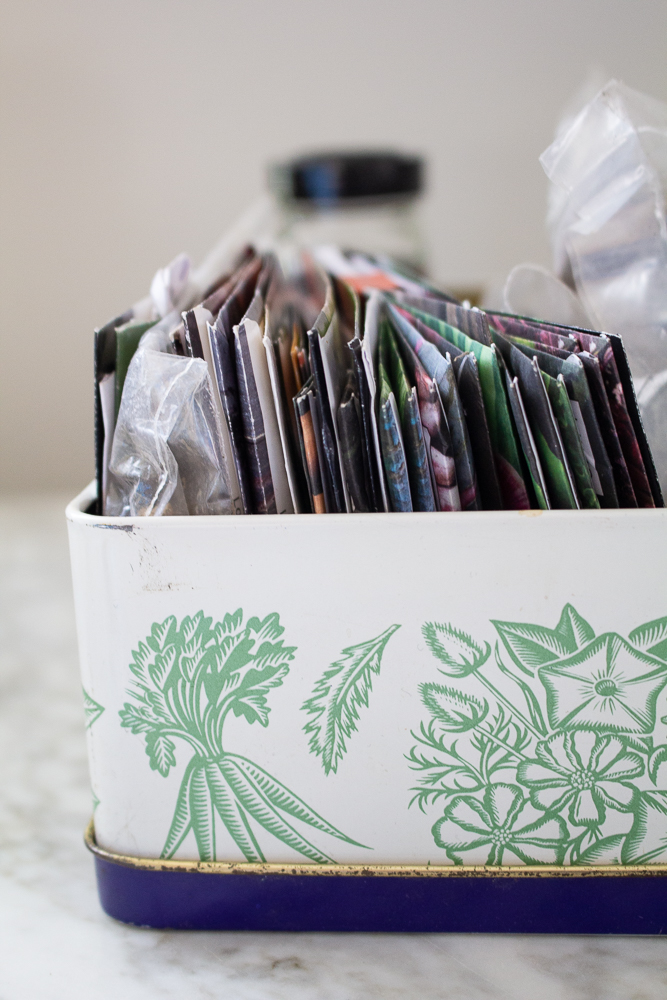
Before We Start
Please know that you don’t need a huge garden to, well, garden. You can garden in pots on the front step, you can garden using an old plastic salad greens container, propped up on your island by the window, you can garden small, or you can garden big. Growing food does require some knowledge, but anyone can start, no matter how much you know. And when you start, you’ll see how incredibly beautiful it truly is to grow food.
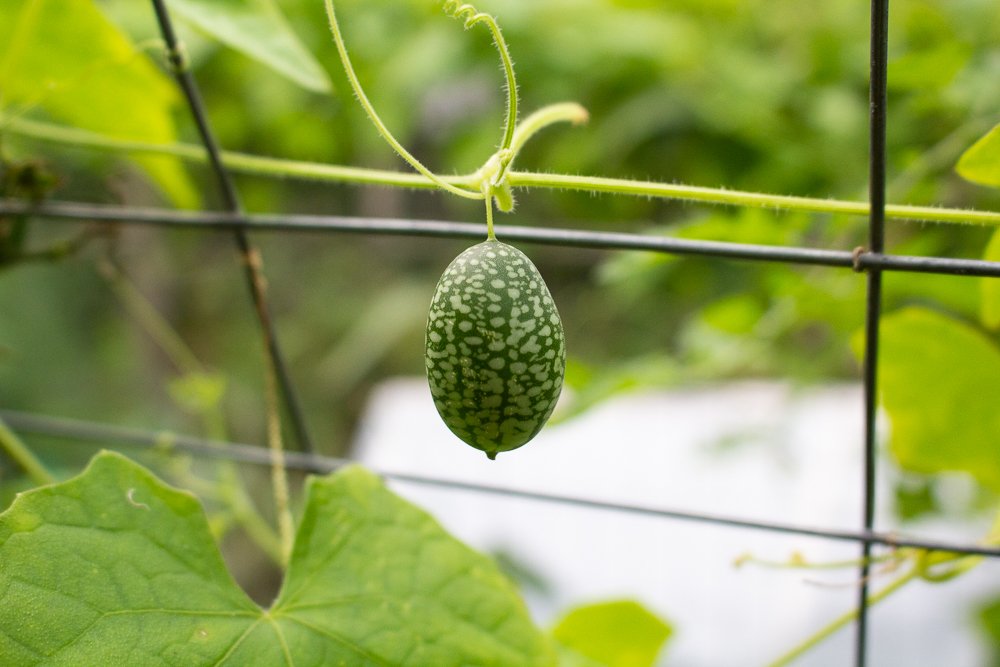
The foundational elements
Mostly, you need:
- a sunny spot,
- good soil (and compost),
- a packet of viable seeds,
- water
- And protection against critters if you have them (like netting for birds or chicken wire for voles and rabbits.)
There is so much to write about in this post, but I want to keep it simple. I won’t go into micro climates, permaculture, or other topics for now. I’m excited to share with you some easy tips to grow something from seed to plant, and for you to witness something beautiful. There are many lessons inherent in just that, and we can learn from every little step for a better year next year.
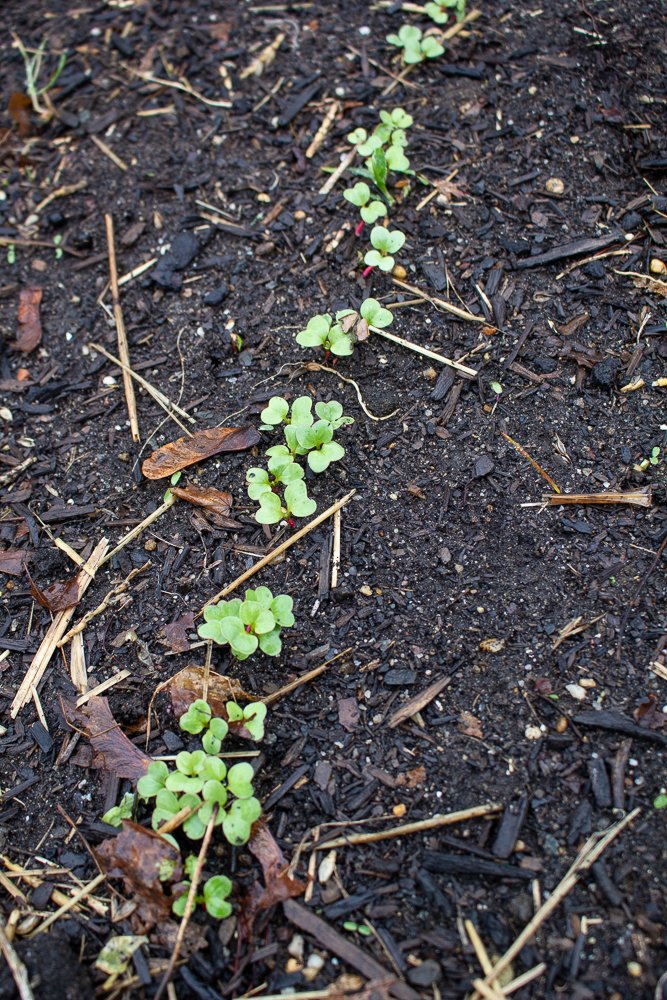
Top Gardening Tip #1: Think Three Seasons
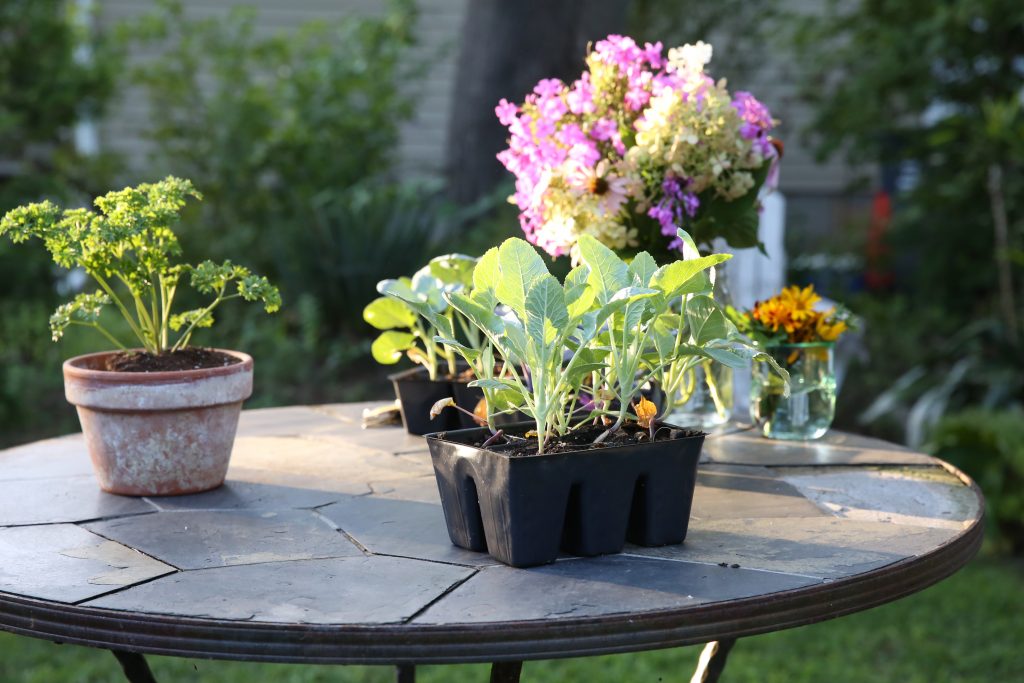
If I had to choose one tip, it would be to think of the garden in 3 seasons: spring, summer and fall. That seems a little strange at first, since most people typically just buy summer plants. Tomatoes, peppers, eggplants and corn are amazing, but the amount of time you have to wait for them to grow is just too long (for me). I love taking advantage of spring and fall crops. Spring and fall is the time to plant cool-weather crops greens, herbs, and root veggies, and with that I’ve just extended my yield significantly. And cucumbers and tomatoes will have their showing in mid-summer, too.
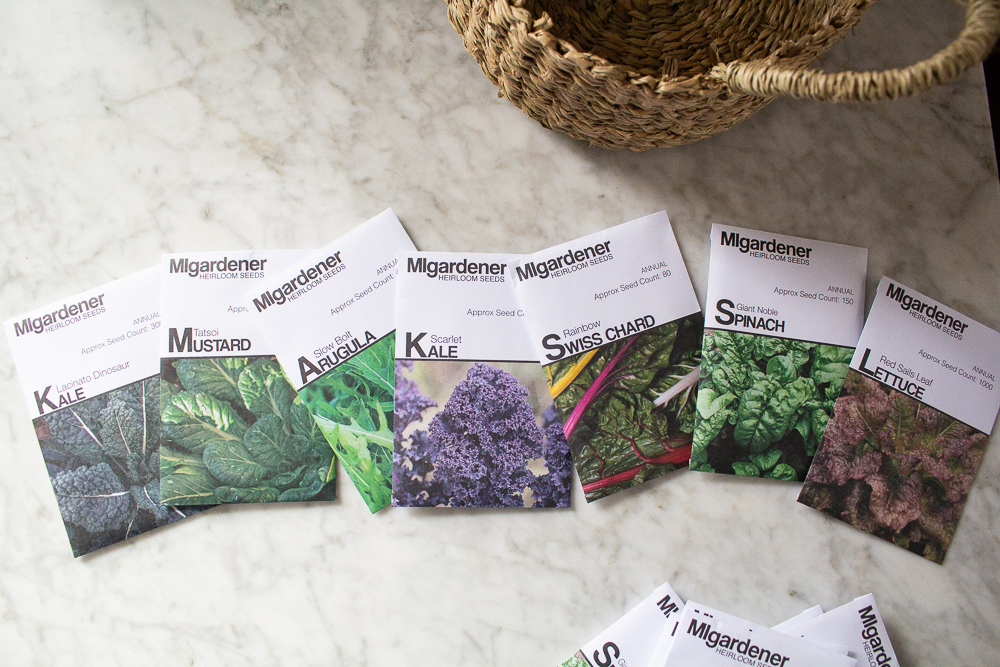
You’ll see me use them often!
Top Gardening Tip #2: Master Your Data
The three bits of data you need to know are:
- Know your growing season (you can find out here)
- Know your approximate last and first frost date (you can find that here)
- And read the back of the seed packet, which shows you planting instructions and dates.
So let’s do a little math.
- My growing season is 7A.
- My approximate last spring frost date is April 16 with my approximate first fall frost date is October 27th. I just ask google how many days are in-between, and I find out I have 194 days of potential growing season. That’s quite a lot! I can grow most things, and in some instances, I can stagger two or more plantings to get even more harvest (for instance, I tend to seed lettuce every week or two weeks for a continuous harvest).
- Around April 16, I will check the weather to confirm that there is no foreseen frost, and then I can direct sow my colder-hardy seeds.
- For my Brandywine Black tomatoes, the package says “start indoors 8-12 week before last frost, and they take 80-90 days to mature”. They will mature perfectly within my 197 growing season (I may even put in a second planting early summer perhaps). So 8-12 week before my last frost would be around Januar 22nd – Feb 19th. I never start them as early as January, but February would be a fine time.
Top Gardening Tip #3: Hardening Off
If you do grow your own seedlings, I highly recommend that you learn about “hardening off”. It’s the easiest thing to get wrong, and have all of your seedlings die (and I’ve had it happen to me). It’s a sad sight. Seeds that come from indoors need to get acclimated to a the new outdoor environment, which includes wind, sun, water, and so much more. It’s like a tender baby that needs a little bit of extra care adjusting to the new world. You can learn more about it here. You can also watch this video for some help.
Top Gardening Tip #4: Weed and Mulch
Weeding is my downfall. I’ll be honest with you and say that my weeding mostly happens spring and fall. For me, summer tends to be more of a harvest time, with occasional weeding, when I can get to it, and I often do it in bursts (like all day on a Saturday). But that said, there are ways to keep weeds at a minimum so you can actually enjoy your garden and not spend all of your time weeding.
- Get weeds when they’re young, pull them up as you see them. THey’re much harder to pull when they’ve developed seeds, since in the pulling you can actually scatter the seeds.
- Weeds love to grow in newly disturbed ground, so I don’t till, dig, or disrupt the ground much. trick is to get in there early when weeds are young, and before they seed. I love the no-dig approach by Charles Downing, he has loads of inspiring videos and tutorials.
- After weeding, and preferably fall or spring, add a nice layer of mulch Grass clippings (without seed), straw, and compost are all great choices. That, and they provide moisture retention in the heat of summer when water evaporates easily. Your plants will thank you. Also, water at night so that the water doesn’t evaporate during the hot day, that seems to have helped our garden, and it retains a lot of its water before the sun dries it back out.
Top Gardening Tip #5: Direct sow seeds whenever possible (within reason)
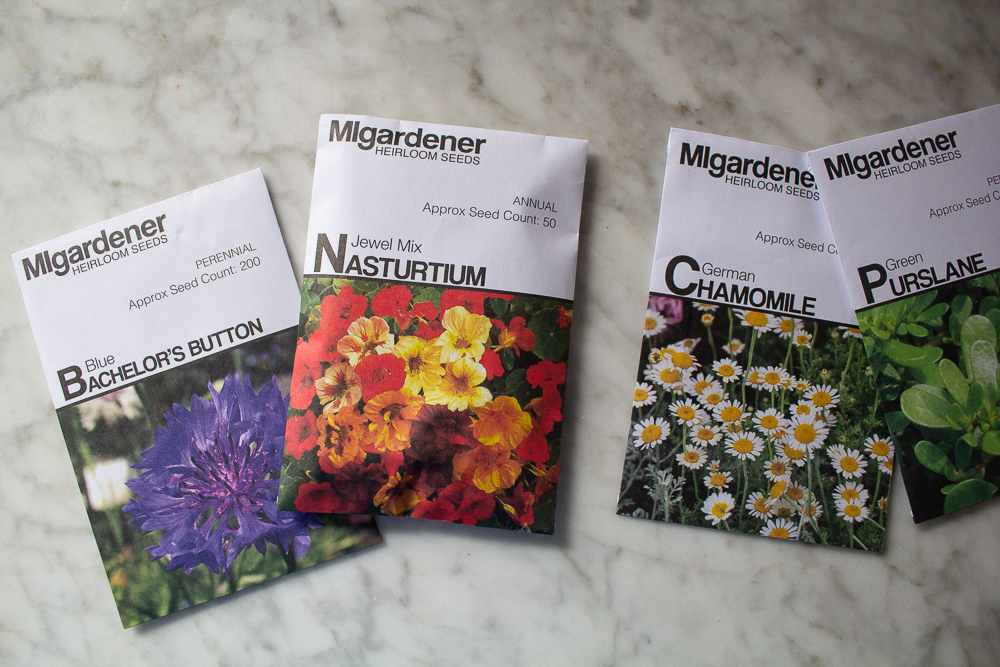
I got this tip from a farmer friend, after I explained to her that a lot of my seedlings don’t make it. She recommended direct sewing even squash, as it has a tendency to root better, establish itself, and doesn’t need to be hardened off like indoor seedlings. I started doing it, and have found that a balance between the two is just right – we grow some of our seeds indoors, we direct seed some of our seeds outdoors, and then we end up with the best of both worlds when some plants make it and others don’t. It secures our harvest better to have a back up plan this way. Some of these plants are:
- Lettuce
- Kale
- Swiss Chard
- Parsley
- Dill
- Nasturtiums
- Beans
- Squashes
- Sunflowers
Direct sow has one problem: critters also love the seeds you just buried. One year, I had 0 sunflowers pop up, because we had voles. They’re cute enough, but I missed my sunflowers! Last year, I planted about 12 seeds or so and I got about 3 to grow. I was happy and relieved. Bottom line: if you direct sow your sunflowers, maybe buy a few back up plants to ensure you have a yield.
I say “within reason” because some plants just don’t do well directly sewn, due to the length of time they need heat and sun. Tomatoes, peppers, and eggplant, for example, need to be grown in a very hot climate, and for those of us in Zone 7a, that means they get started indoors. They just can’t handle the cooler spring temperatures and potential downpours of rain as small seedlings.
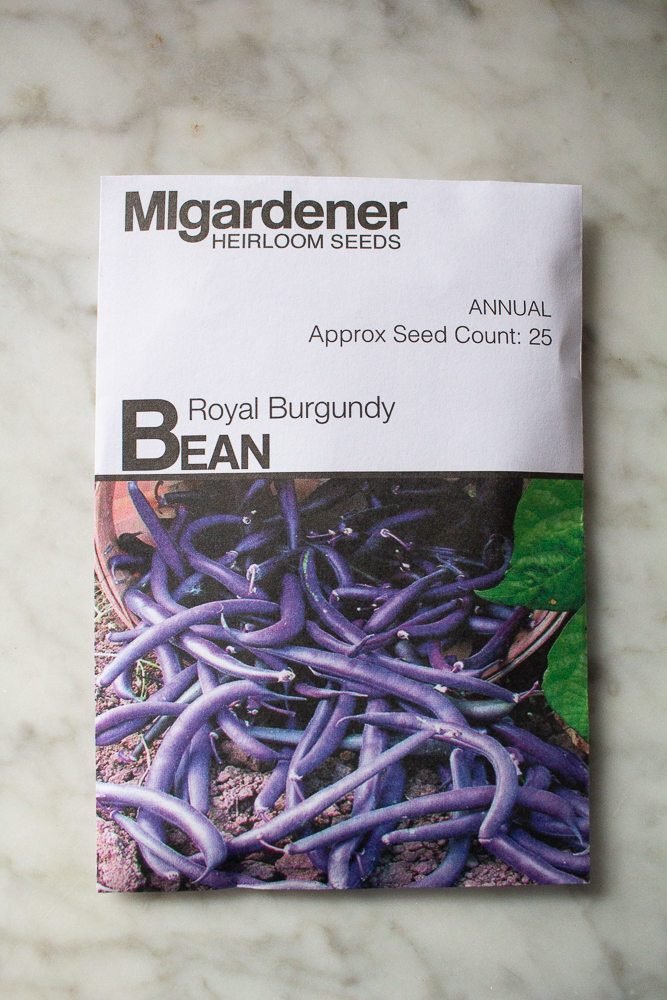
Top Gardening Tip #6: Rotate your crops
It’s customary practice to rotate your crops from year to year. All the tmeans is that you don’t plant them in the same spot every time. Plant them in one spot this year, and then rotate them by planting a new plant in that spot next year. We typically do this to (1) avoid depletion the dirt of too many nutrients by the same type of plants over and over and over and (2) prohibiting pests that get used to a particular area of planting. You want to confuse them a little bit by rotating your crops.
- Rotate root crops (plants that grow underground) with towering plants (ones that grow above ground)
- Rotate the brassicas (kale, collards, etc) since they often have pests (such as white flies) and they return to the same area year after year. Confuse them by moving them across to the opposite part of the garden the next time you plant them.
- We have two trellis structures that I use for crops that vine and grow up: tomatoes and cucumbers. I alternate the cucumbers and tomatoes between these two trellises every year.
- Keep rotation simple, don’t make it complicated. Just move a particular crop to another part of the garden the following year, changing plant location year after year. I try to keep it in 3 or 4 year cycles (meaning, potatoes return to bed A every 4 years).
- When you do rotate, however, keep in mind the height of plants. You won’t want to rotate a super high crop on the part of the garden that gets the most sun, since then it will shade the underside.
Top Gardening Tip #7: Start Easy
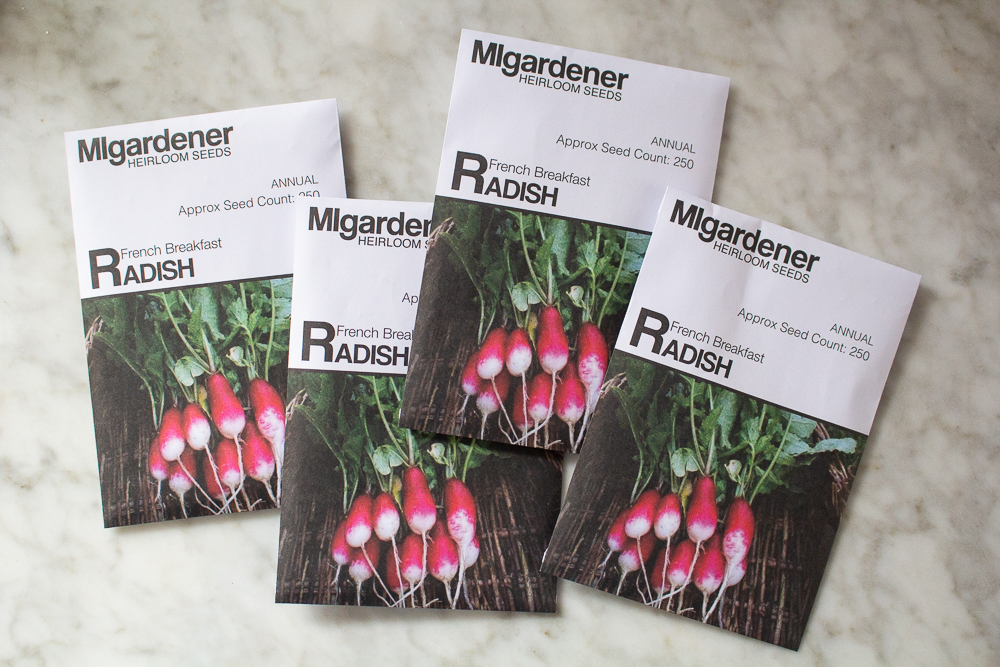
Start with really easy crops to grow. Some are lettuce, spinach, and kale. The tougher ones (and I’ve tried) are broccoli, cauliflower and cabbage. But I wanted to share with you one of my top favorite crops to grow for beginners: Radishes!
But most specifically, these French breakfast are the highest full-bulb yielding of the ones I’ve tried, super crunchy, prominent, and un-fussy. They’re the best. The leaves can also be sautéed (when small) with a little spray of oil, salt and pepper. If you check out my seed stash, you may or may not find 8 seed packets for these.
Top Gardening Tip #8: Save Seeds
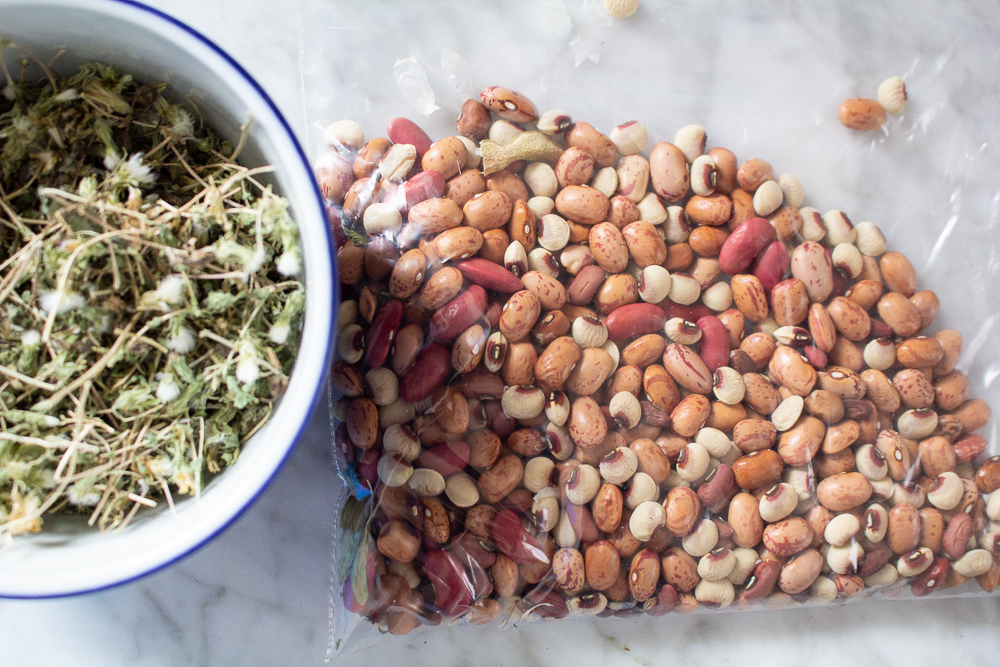
I often let some of my plants go to full fruition, so they let out seeds for me to use next year. One such example is planting a little bit more arugula than I need, and using 1/4 of it to grow into seed pods for me to harvest. There are two benefits to this: I don’t have to purchase extra seeds, and I also end up feeding some of the birds. It’s lovely to see birds in late summer perched on top of the arugula stalks, nibbling at the seeds pods. They do good work and often take most of them, before I get in there to harvest some of my own. Inadvertently, they bite off more than they can chew, and often let some seeds fall to the ground, which will yield me another harvest so it’s a win-win for all of us.
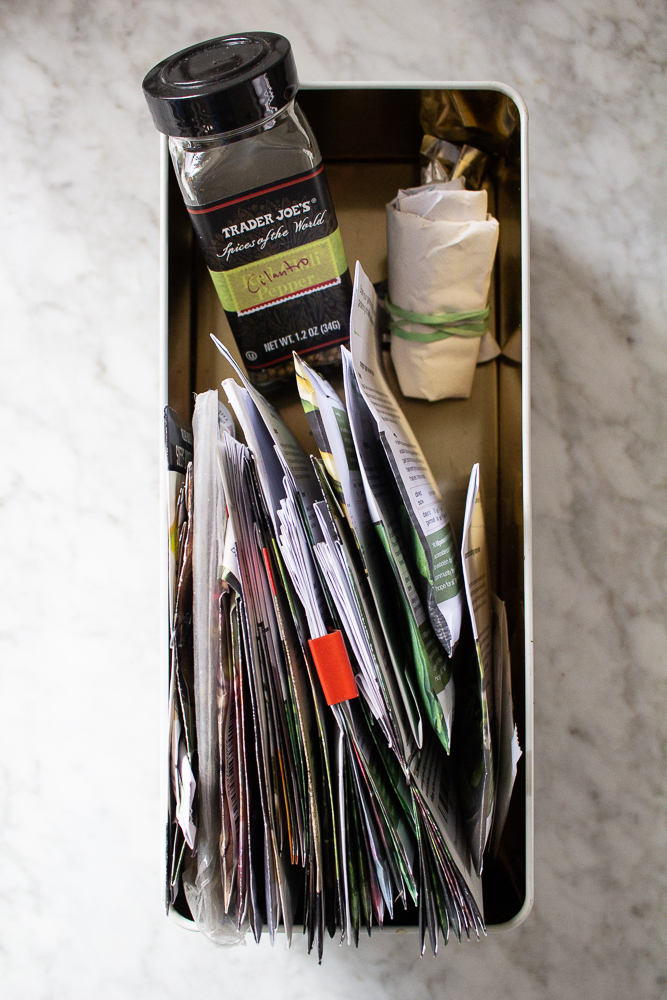
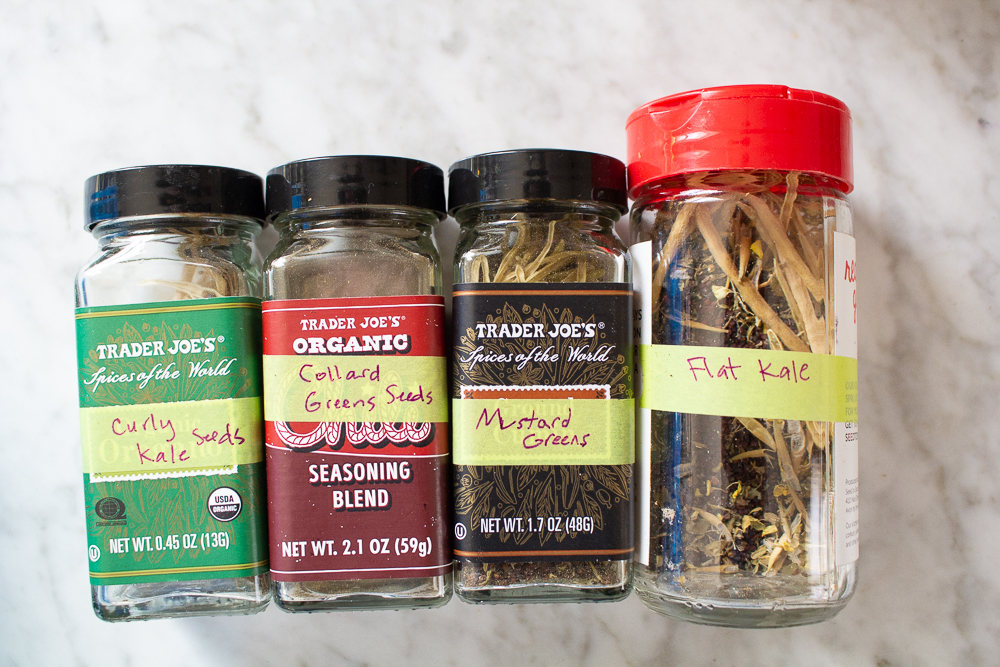
One last tip is to save your herb and spice containers to use to store your seeds. They’re glass, easy to peek through, up cycled, and store well. Keep them in a dark, dry place over winter to use the following year. I’ll go into seed saving a bit more this fall, when I will be seeds saving myself. Stay tuned for that post!
Top Gardening Tip #9: Never Stop Learning
I talk with gardeners, find new videos to watch, books to pour over, and never stop learning. With each lesson, I’m amazed and grateful that I can continue on this journey and grow even better. And what you will discover in your own path of learning through gardening, just by doing it, is so incredibly valuable and priceless.
Top Gardening Tip #10
Have fun. Every year is different, and really be ok with that. Sometimes you’ll get 50 cucumbers, sometimes you’ll get 5, and as long as you have a local friend who also grows or a farmers market nearby, the idea is that you can replenish in other ways if the harvest dwindles. We never know what Mother Nature will give us (between sun, rain, humidity, wind) but I just encourage you to put your best foot forward and give it your best shot. Repeatedly. Every year.
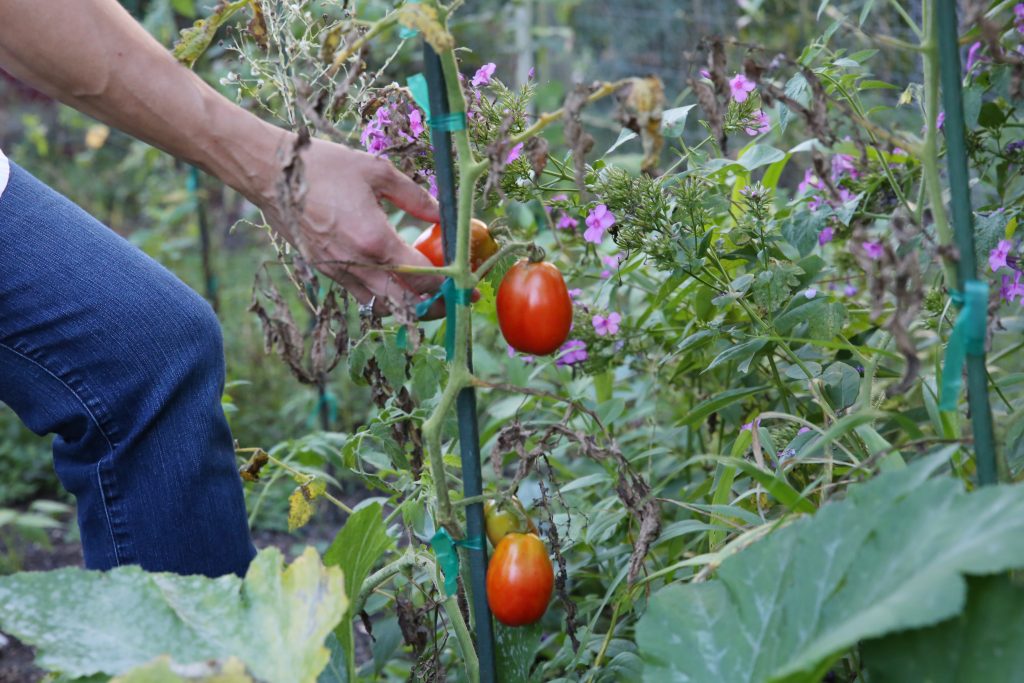
Want our Garden Plan?
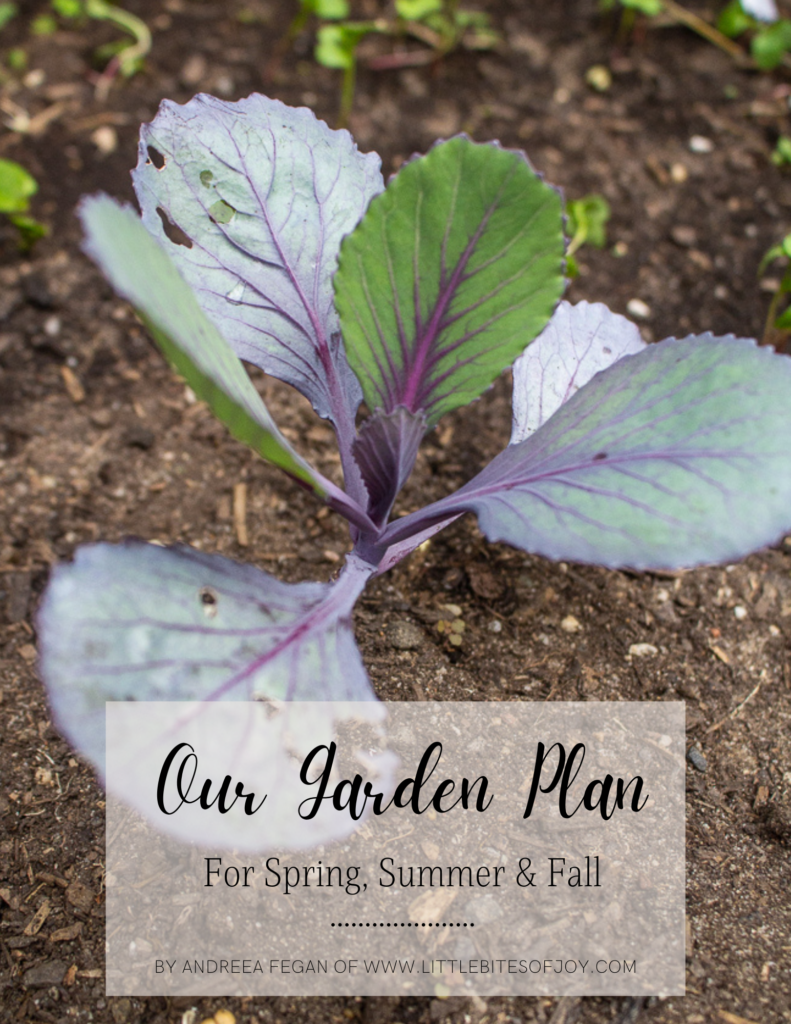
Although we grow mostly flowers now, we still love our veggies! Here is a sample garden plan I wrote last year, in hopes it can bring you some clarity and inspiration! It’s complete with a seed list, what we grew, how to maximize your three seasons, and even some seasonal poetry, check it out here! It’s on sale too 🙂
My Top Favorite Gardening Books
As an Amazon Associate, I earn from qualifying purchases at no extra cost to you.
Floret Farm’s Cut Flower Garden
Some of my favorite recipes from the garden
My Favorite Massaged Kale Salad
Pin It For Later
[…] One of the simplest and most fun things I can do as a gardener is to save my own seeds. Simply let the plant bolt, and they’ll create flowers and seed pods along the stem. When dried, these seed pods will then feed more birds (I have to learn to share) and will also provide me for seeds for the next season. I spend a lot of time gathering my own seeds so that I don’t have to purchase any in the future. And just one plant sacrificed for seeds will yield plenty for the seasons to come. To find out more about saving seed, visit this post. […]