
Cooking easy, delicious and flavorful beans at home has never been easier. A new perspective on how to cook beans at home will convince you to opt for home-cooked every time!
For the longest time, I used to use canned beans, and there is no judgment there. For certain, they’re easy and quick and very convenient. Then I started to learn about homesteading, cooking more at home, keeping things simple and healthy. In the process, I also learned that many of the canned beans have BPA in the lining which is not necessarily something you may want in your food. In an effort to be more mindful of our family’s health and save a little money in the process, I wanted to learn how to cook dried beans from scratch. And I found it so easy, fun, flavorful, plus I could freeze the extras! And with a little thought, it really is easy.
In the past few years, I started to cook beans on the stove. Not only does it fill the house with the most amazing aromas, it’s a lot easier to keep an eye on the beans and manage their timing and level of done-ness. It’s like a fun science experiment.
Why Cook Your Own Beans?
This won’t be a deep dive dissertation into cooking beans, but there are some helpful facts to sway you in the direction of cooking more at home.
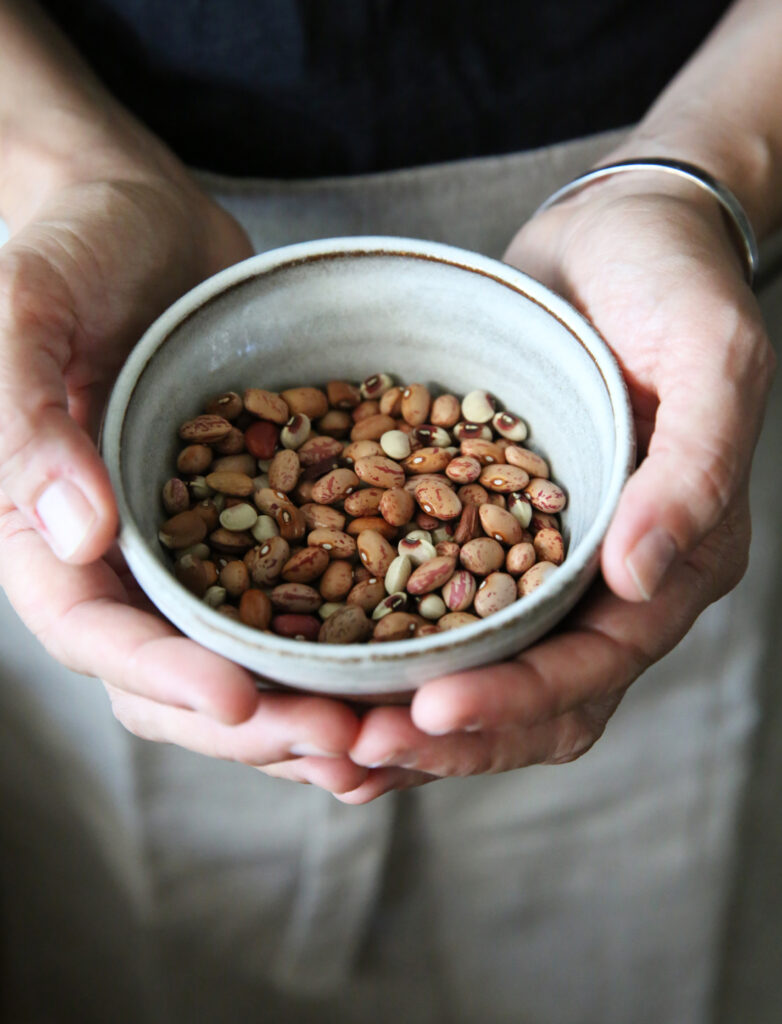
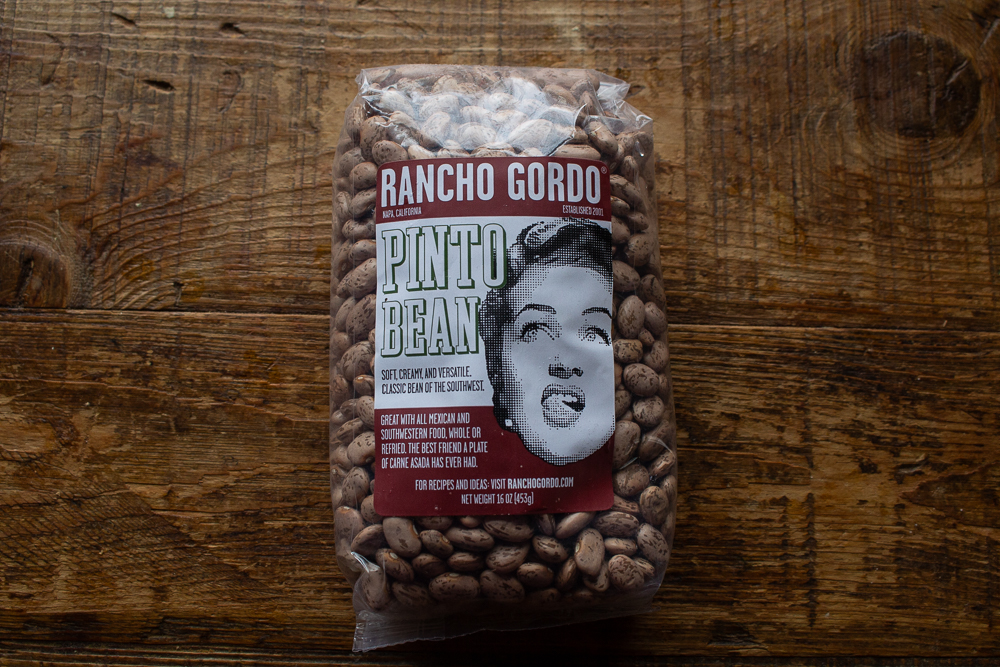
First, variety: dried beans come in a larger variety of choices, which also down the line translates into nutrients, than what you’re served in the can isle of your grocery store. Canned goods are a commodity for the general population who enjoys about 5 or 6 types of beans. But when you explore the world of dried beans, you find beans of every shape and size and color, and with that comes flavor and nutrition. The world of organic and/or heirloom beans is plentiful and beautiful. I think for many, the more beautiful the food, the more inspired one is to eat it! And some of the old varieties are truly beautiful.
Gas: If you’ve ever gas pains from beans, most likely they were improperly cooked. Beans must be soaked, and cooked well. Also, during cooking I skim the foam that appears on top of the liquid, and htat also helps with minimizing gas. Please note, the soaking water should never be used again as cooking water. Soak your beans, drain, rinse well, and replenish with fresh water before cooking.
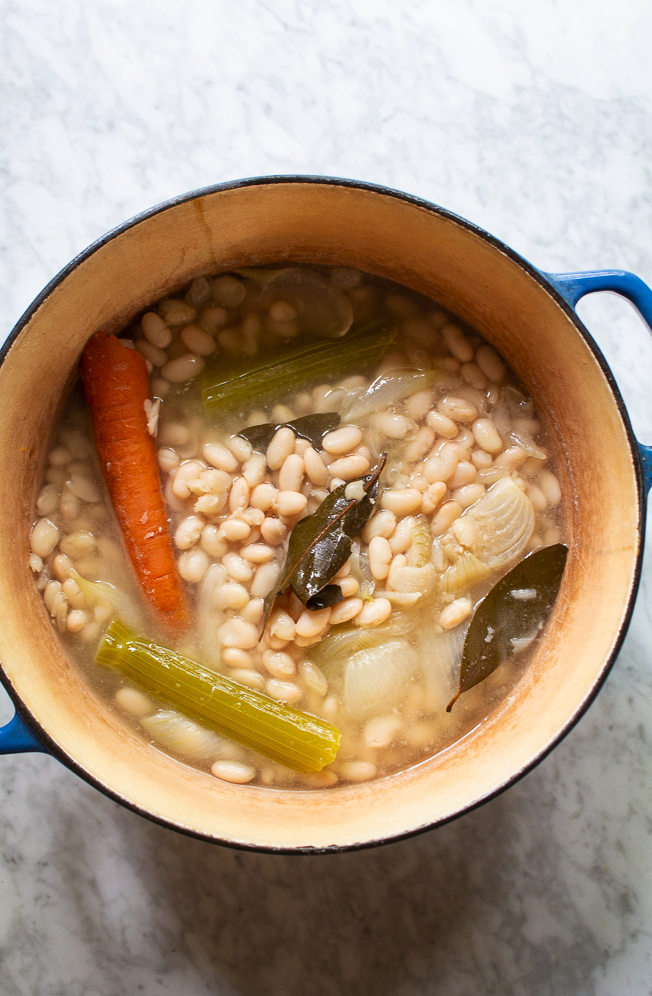
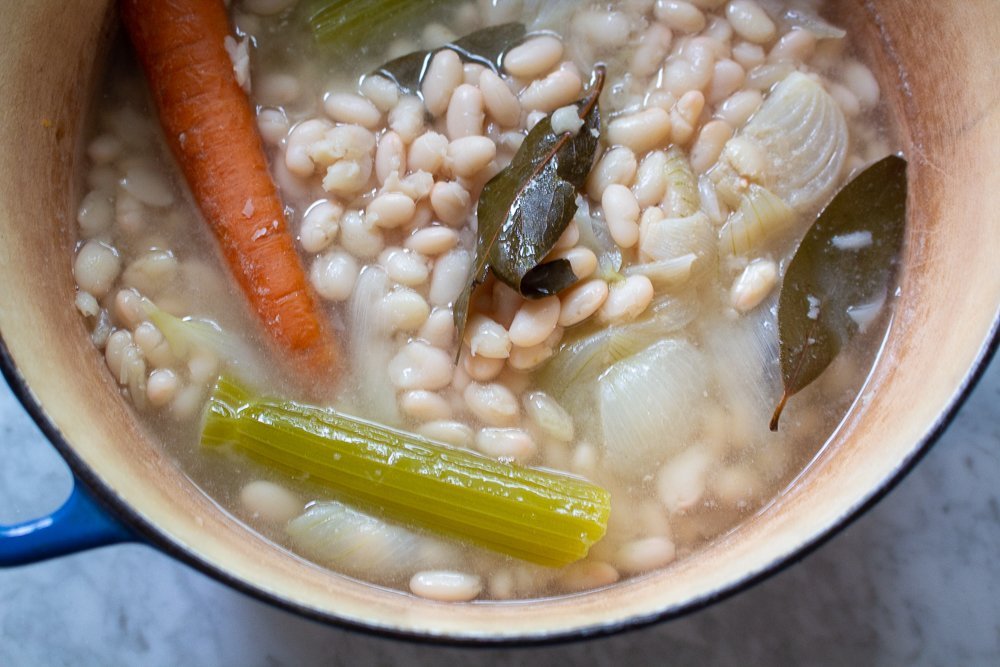
Flavor: When you buy a can, the manufacturer who cooked the beans decided how to cook them: with kelp, without kelp, with or without salt, did they cook them with aromatics? They had a general idea of how most people would enjoy the beans, but at home, you can make it yours. I love to add kelp to add minerals to the broth and beans, and to add a little umami flavor. I also like to add aromatics such as carrots, onions, celery, and bay leaves (which makes a world of difference). You have more control when you cook them yourself at home.
If you’re looking for something simple, here’s my quick tutorial below to make them flavorful every time.
Top Tips for Cooking Dried Beans
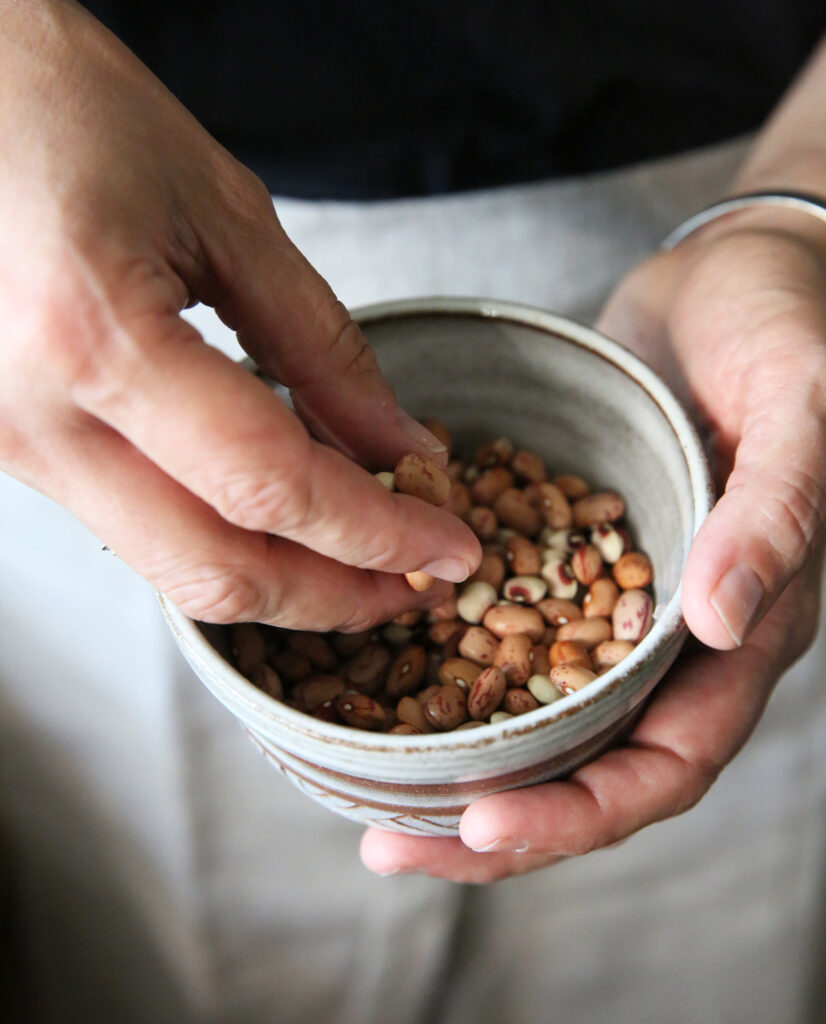
- First, definitely pick over your beans before you add them to the pot. You’ll be surprised you may find some dark ones, shriveled ones, and even rocks. Discard those.
- Next, soak your beans in water overnight so they plump up, at least 8 hours. In the morning, rinse the beans well and add them to a pot. Fill the pot with water to about 2-3 inches higher than the beans.
- Think of cooking beans like you’re making a stock. Add in aromatics such as herbs, alliums, a bay leaf, a piece of kombu seaweed for minerals, and salt. Make the water tasty enough to eat on its own, and that will add flavor to the beans as they cook.
- Choose a heavy pot like this one to cook your beans.
- Bring the beans, water and aromatics to a simmer. I cover the pot with a little opening for steam to escape and leave on simmer for at least 45 minutes, but with some beans it can take even up to 1 hour. Check on the beans often and add boiling water if the water is starting to evaporate too quickly.
- Alternatively, you can use an instant pot, which even helps to release the gas in beans even more than the stove top method. Simply add the beans, aromatics and water and bring up to pressure, cooking between 7-9 minutes. I release the pressure naturally.
- That’s it! Enjoy your beans in a a variety of ways; I’ve included some recipes below.
Two bowl photos by Lara Robby Photography.
This post contains affiliate links, which is no added cost to you.
Ready To Make Some Recipes With Your Homemade Beans?
Try Romanian Refried Beans, 2 ways
Roasted Red Pepper Hummus with Chipotle
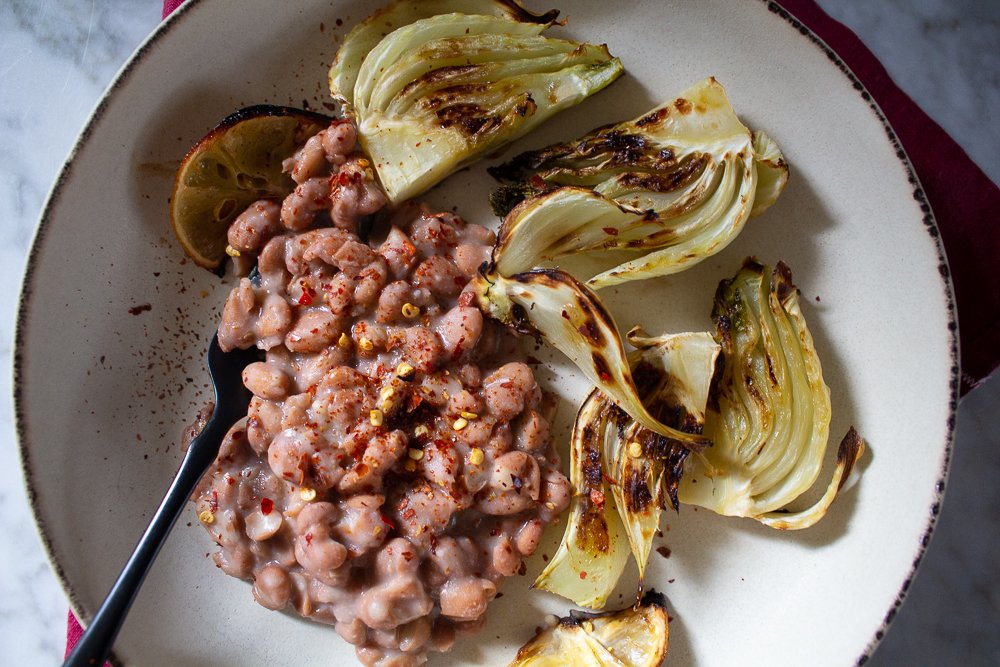
Roasted Fennel with Mashed Beans


Leave a Reply